

The first step in knowing how to clean your sterling silver is understanding why it happens in the first place. Seeing that dark layer creep over your favorite piece isn't a sign of a flaw; it's the natural chemical reaction that proves your jewelry is the real deal. It’s what happens when silver meets sulfur compounds in the air, creating a thin coating of silver sulfide on the surface.
Understanding Why Your Sterling Silver Tarnishes

Ever pulled out your favorite concho earrings or turquoise cuff and noticed they've lost their shine, looking a bit dull and shadowy? That’s tarnish, and it’s a completely normal process for genuine sterling silver. It’s important to know this isn't the case for all metals; you can get the full rundown on the differences between sterling silver vs stainless steel jewelry to see why they behave so differently.
The main culprit here is hydrogen sulfide, a gas that’s just floating around in our atmosphere. When it makes contact with silver, a chemical reaction kicks off. Sterling silver—which is 92.5% pure silver mixed with other metals like copper for strength—is especially prone to this. That copper alloy is what makes the silver durable enough for those intricate Southwestern designs we love, but it also happily reacts with elements in the environment.
The Role of Your Environment
Your daily life and even where you live can have a huge impact on how quickly your jewelry tarnishes. If you've got that "estuarian cowgirl" spirit and live near the coast, you're dealing with salty, humid air day in and day out. All that moisture speeds up the tarnishing reaction way faster than it would in a drier climate.
Tarnish is simply the result of a chemical reaction between silver and sulfur-containing substances in the air. It’s a surface phenomenon and does not harm the underlying metal.
Even everyday things inside your home can be contributing factors. Just think about the products you use every single day—many of them can accelerate the tarnishing process without you even realizing it.
- Beauty Products: Things like hairspray, perfume, lotions, and makeup often have chemicals that react with silver. A good rule of thumb is to always put your jewelry on after you’ve finished with these products.
- Household Cleaners: Chemicals like ammonia and bleach are incredibly harsh on sterling silver. They can cause immediate and pretty severe discoloration, so keep your jewelry far away during cleaning sprees.
- Food Items: You might be surprised to learn that certain foods, especially those high in sulfur like eggs, onions, and mayonnaise, can also cause tarnish if they come into contact with your silver.
Tarnish vs. Intentional Oxidation
Now, in the world of Southwestern jewelry, not all darkness is a bad thing. Artisans often use a technique called oxidation to intentionally darken the recessed areas of a design. This is what adds that incredible depth and contrast, making detailed stampwork and patterns really pop.
This intentional patina is part of the piece’s soul and absolutely shouldn't be polished away. Knowing the difference is crucial. Unwanted tarnish usually looks like a dull, uniform film that covers the whole surface, while artistic oxidation is carefully applied to enhance the beauty of the design. Recognizing this distinction will help you clean your treasures the right way, without accidentally erasing their unique story.
Daily Habits to Keep Your Silver Bright
Honestly, the best way to clean sterling silver is to make it something you rarely have to do. Keeping heavy tarnish from setting in is a whole lot easier than trying to rescue a piece that's already deeply discolored. It all comes down to a few simple, daily rituals that will preserve the bright, beautiful finish of your favorite Southwestern jewelry.
Think of this as the essential daily upkeep that keeps your sterling cuffs and concho earrings looking their best between deeper cleanings. The biggest culprits that speed up tarnishing are the oils, sweat, and lotions that find their way onto your jewelry during the day. A quick, thoughtful wipe-down after each wear makes a world of difference.
The Post-Wear Wipe Down
The single most impactful habit you can build is wiping your jewelry with a soft, lint-free cloth before putting it away. A microfiber or a dedicated jeweler's polishing cloth is perfect for this job. It takes less than a minute but lifts away the surface residues before they have a chance to react with the silver.
This step is especially critical for pieces that get a lot of skin contact, like a bold cuff bracelet or a favorite statement ring. These items naturally collect more oils and moisture, which act as catalysts for the tarnishing process. By making this quick wipe-down part of your routine—just like taking off your boots at the end of the day—you dramatically slow down that chemical reaction.
This graphic from a professional conservation guide really drives home the importance of routine care in preventing long-term damage and buildup.
The guide emphasizes that regular, gentle cleaning is far better for your jewelry than infrequent, aggressive polishing, which can actually wear down the metal over time.
Smart Daily Practices
Beyond the daily wipe, a few other habits will go a long way in protecting your silver's shine. These are just simple tweaks to your daily routine that shield your jewelry from the very things that cause tarnish.
- Last On, First Off: Think of your jewelry as the final touch. Always apply lotions, perfumes, hairspray, and sunscreen before you put on your silver pieces. In the same way, take your jewelry off first before washing your hands or removing makeup.
- Avoid Moisture Hotspots: This one's a biggie. Never wear your sterling silver in the shower, pool, or ocean. The chlorine in pools and the salt in seawater are incredibly corrosive and can cause rapid, severe tarnish that’s a real headache to reverse.
- Be Mindful During Chores: It's always a good idea to slip off your rings and bracelets before doing household chores. Cleaning products often contain harsh chemicals like bleach and ammonia that can permanently damage sterling silver on contact.
Pro Tip: Keep a small polishing cloth right in your jewelry box or on your dresser. Having it right there where you store your pieces serves as a great visual reminder to give them that quick, final wipe-down before calling it a night.
Adopting these simple routines will significantly stretch the time between deep cleanings. To build a truly effective care regimen, you can dive deeper into these foundational practices in our guide to essential jewelry care habits that keep pieces shining. This kind of proactive approach is what ensures your cherished Southwestern treasures stay brilliant and ready for anything.
A Safe DIY Method for Cleaning Tarnished Silver
When your favorite Southwestern silver needs a little more love than a simple wipe-down, you don't have to reach for harsh chemicals. It's surprisingly easy to whip up a gentle, effective cleaning paste right at home with just a couple of basic ingredients. In fact, this is the exact approach conservationists use to protect priceless silver artifacts, so you know it's safe.
This method lets you carefully work around the intricate stampwork and deep crevices so common in Southwestern designs. You can bring back the shine to every surface without disturbing the beautiful, intentional oxidation that gives your cuffs, concho belts, and statement rings their soul. Learning this technique puts professional-grade care right in your hands.
The Museum-Approved Cleaning Paste Recipe
Forget what you've heard about using toothpaste or baking soda—those are far too abrasive and can leave tiny scratches on your silver. The real secret to a safe but powerful clean is a simple, non-damaging abrasive mixed into a paste that gently lifts tarnish away.
For this pro-level method, you only need three things:
- Precipitated Calcium Carbonate: Also called "precipitated chalk" or "whiting," this is an extra-fine powder that acts as a super mild abrasive. You can find it online or at most art supply stores.
- Distilled Water: It’s really important to use distilled water here. The minerals and chlorine in regular tap water can actually react with silver and leave behind spots or a dull film.
- A Soft Cloth or Cotton Balls: You’ll need these for applying the paste and buffing your piece back to its original gleam.
This isn't just some clever household hack; it's a method backed by serious science. Conservation experts across the globe have standardized the use of fine calcium carbonate for cleaning sterling silver because it effectively removes tarnish while causing minimal surface wear. It’s the go-to alternative to aggressive chemical dips.
Applying the Paste for a Perfect Polish
Once you have your ingredients ready, the process is pretty straightforward. The real key is to use a gentle touch and have a bit of patience, especially with pieces that have delicate details or that perfect aged patina you want to keep.
First, mix up your paste. In a small bowl, combine a spoonful of the calcium carbonate powder with just a few drops of distilled water. You're aiming for a smooth, creamy consistency, something like sour cream. A little bit goes a very long way.
Next, take a soft, lint-free cloth or a cotton ball and dip it into the paste. Apply it directly to the tarnished spots on your jewelry using small, circular motions. You’ll immediately see the tarnish start to lift off the silver and onto your cloth—it’s incredibly satisfying.
The goal is to let the fine abrasive in the paste do the work, not heavy pressure from your hand. A light, consistent touch is all that's needed to lift the silver sulfide from the surface.
For those beautiful, detailed Southwestern pieces with deep stampwork, a cotton swab or a super soft-bristled brush (like a baby's toothbrush) can help you work the paste into the nooks and crannies. This lets you clean the raised surfaces while leaving the intentional dark patina in the recessed areas, which is absolutely essential for maintaining the piece's character.
When you’re happy with the results, rinse the jewelry thoroughly with clean, distilled water and dry it completely with another soft cloth. If a few stubborn spots are still hanging on, you can explore other options in our guide on how to remove tarnish from silver jewelry for more advanced situations.
This infographic shows the simple daily habits that will make these deeper cleanings necessary far less often.
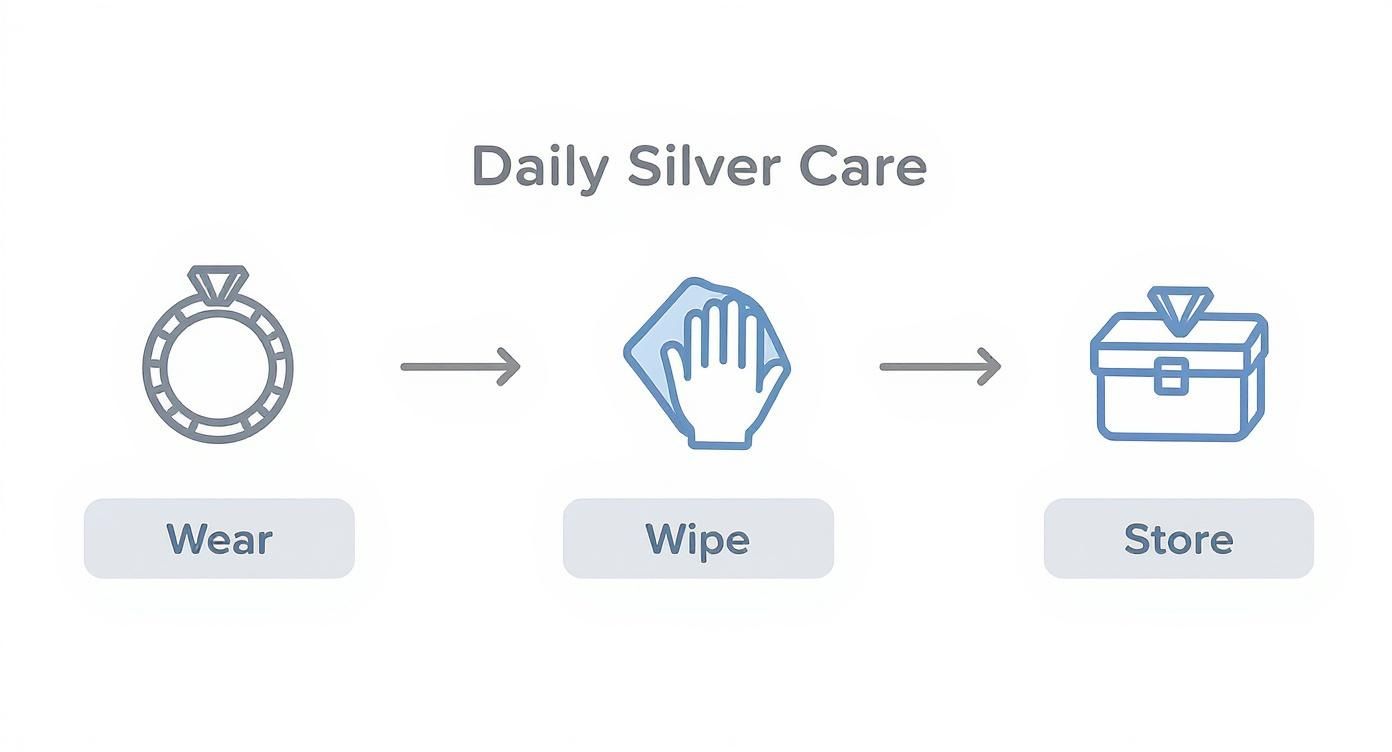
That simple flow—wear, wipe, and store—is your best defense against heavy tarnish buildup.
Caring for Your Silver Jewelry with Turquoise Gemstones
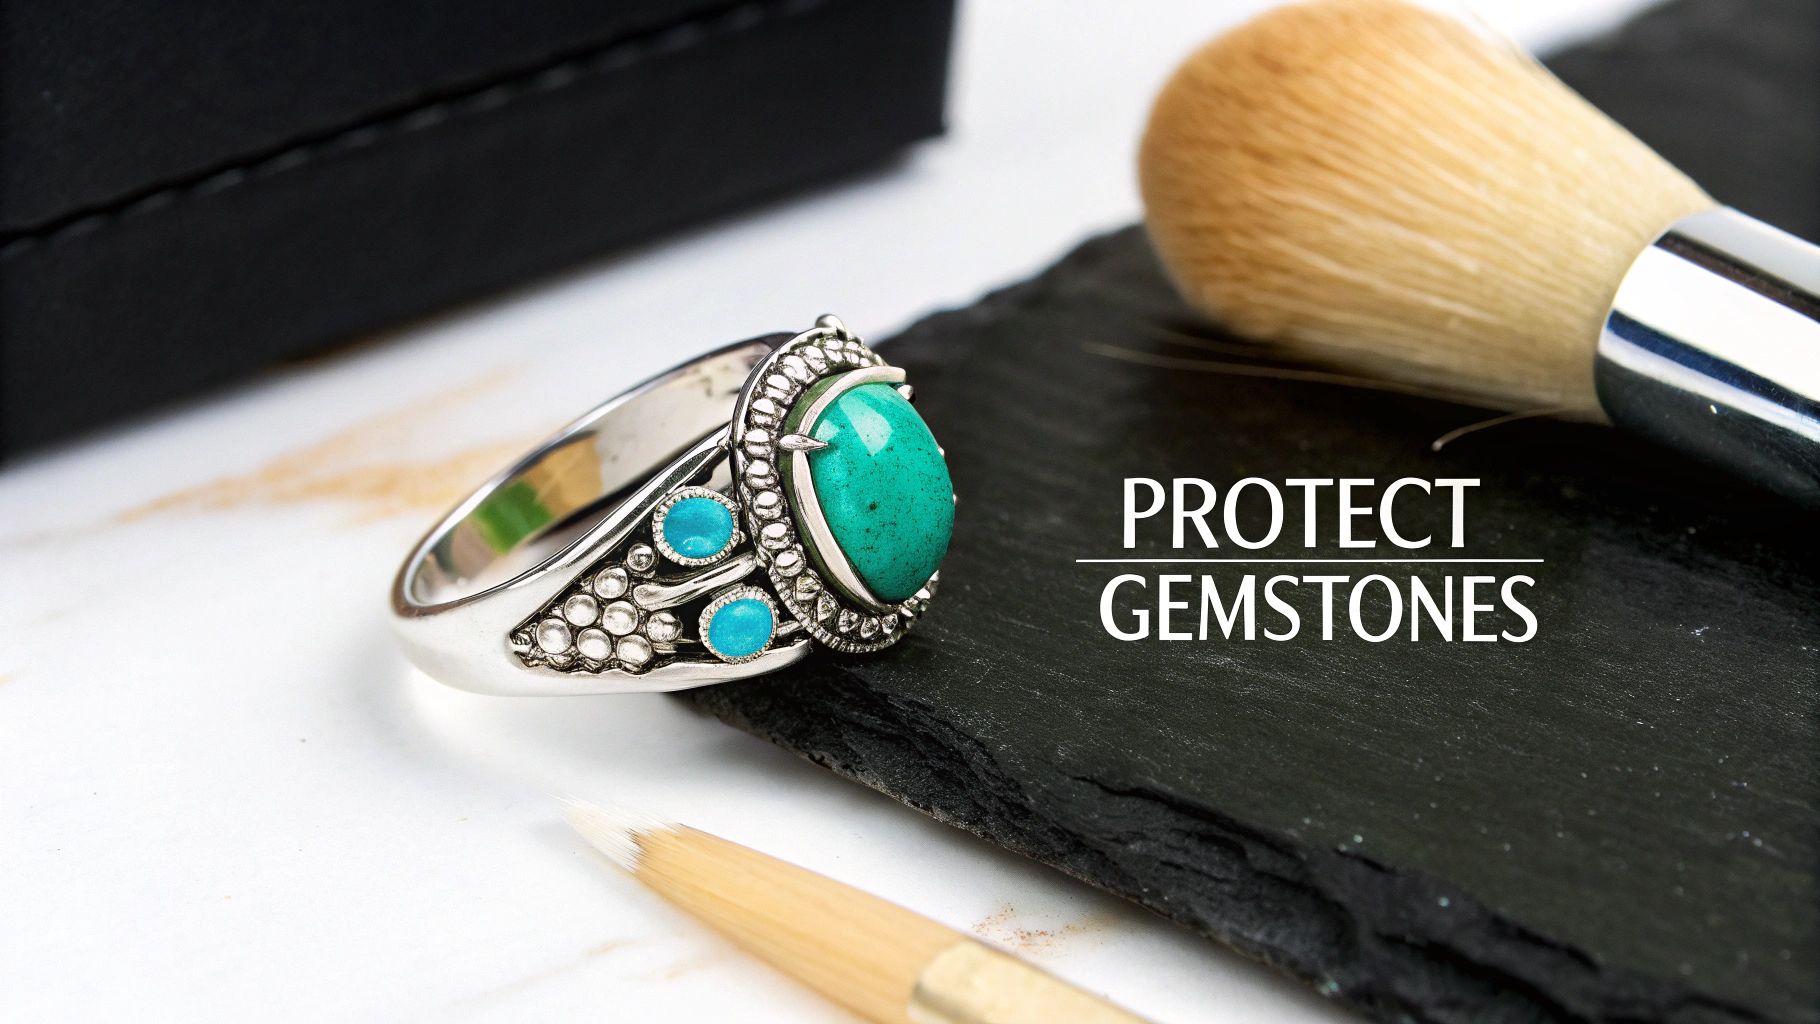
So many of the most iconic Southwestern pieces feature a striking turquoise stone nestled in a beautifully worked silver setting. While the silver might need a good polish from time to time, the gemstone requires a completely different—and much, much gentler—approach. This is where knowing how to handle sterling silver gets a bit more nuanced.
Turquoise is a porous gemstone. Think of it like a tiny, beautiful sponge. It will absorb liquids, including water and, of course, any cleaning chemicals you introduce. This absorption can lead to discoloration, dulling that vibrant blue-green hue and potentially causing permanent damage.
For this reason, submerging any jewelry with turquoise, coral, or shell inlays is completely off-limits. It's the number one rule of Southwestern jewelry care.
The key is to clean the silver without ever compromising the stone. It’s all about a precise, targeted technique that focuses only on the metal, preserving the natural beauty at the heart of your piece.
A Targeted Cleaning Approach for Gemstones
Instead of soaking the entire piece, you'll need to work carefully on the silver setting alone. The DIY cleaning paste we talked about earlier is perfect for this, but your application method needs to be far more meticulous. Think of it as detail work, not a quick scrub-down.
You don't need fancy tools, just a few simple essentials:
- Cotton Swabs: These will be your best friends for applying cleaning paste to the silver bezel and surrounding details without ever touching the stone.
- A Soft, Fine-Tipped Brush: An old (but clean!) makeup brush or a small artist's paintbrush works wonders for getting into those tiny crevices around the stone's setting.
- A Damp Cloth: Use this to carefully wipe away the paste residue from the silver once you’re finished.
Just apply a tiny amount of your cleaning paste to the tip of a cotton swab and gently work it over the tarnished silver. Go slow and be deliberate, especially around the edges where the metal meets the stone. If there's intricate stampwork nearby, use your soft brush to lightly apply the paste, ensuring you don’t accidentally scrub the turquoise.
The rule of thumb is simple: treat the stone like it's allergic to moisture and cleaners. Any cleaning agent, even a gentle one, should only ever touch the silver.
This careful method ensures you can restore that bright shine to your silver cuff or ring while protecting the delicate, porous nature of its gemstone. To dive deeper into the unique properties of this beloved stone, you can explore our guide that helps you know your turquoise origin, quality markers, and care requirements.
What About Other Southwestern Stones?
While turquoise may be the star of the show, other gorgeous materials often make an appearance in Southwestern jewelry. Stones like coral, mother of pearl, and spiny oyster shell are also common and demand similar care. They are all organic and porous, making them just as vulnerable to chemicals and moisture.
The "spot-clean" method we just covered works perfectly for these materials, too. Always steer clear of harsh dips and ultrasonic cleaners—they can cause irreparable damage to these natural treasures.
To make things easier, here's a quick reference guide for some of the most popular stones you'll find in Southwestern and boho jewelry.
Southwestern Gemstone Cleaning Guide
This table is your cheat sheet for keeping those beautiful, natural stones safe while you bring back the shine to your silver.
| Gemstone | Safe Cleaning Method | What to AVOID |
|---|---|---|
| Turquoise | Wipe gently with a dry, soft cloth. Use a cotton swab with paste for the silver setting only. | Submerging in water, chemical cleaners, ultrasonic cleaners, and abrasive cloths on the stone. |
| Coral | Clean with a soft, slightly damp cloth, then dry immediately. | Harsh chemicals, acidic cleaners (like vinegar or lemon juice), and high heat. |
| Opal | Wipe carefully with a soft, dry cloth. Avoid getting it wet whenever possible. | Sudden temperature changes, dry storage conditions (can cause cracking), and chemical exposure. |
| Shell/Mother of Pearl | Polish with a dry, soft cloth to restore luster. Use a targeted paste application on silver. | Abrasives, acids, and any form of soaking, as it can delaminate the layers. |
Ultimately, caring for your gemstone jewelry is all about respecting the natural materials. A little extra time and a gentle, focused technique will ensure both the silver and the stones remain as beautiful as the day they were crafted, keeping your style shining bright for years to come.
Common Cleaning Mistakes That Can Ruin Your Silver
Knowing how to clean your sterling silver is one thing, but knowing what not to do is arguably even more important. It’s so easy to fall for popular "hacks" in the quest for a quick shine, but these shortcuts can cause permanent harm to your cherished Southwestern pieces.
These tempting methods often do more damage than good, especially to jewelry that features the intricate details and intentional patinas that give it so much character. Before you grab that household product, take a moment. Protecting your collection means steering clear of aggressive cleaners that can strip away that unique estuarian cowgirl vibe, leaving your jewelry looking flat, lifeless, or worse, covered in scratches.
Why You Should Avoid Silver Dips
Commercial silver dips can seem like a miracle solution. You just dunk your tarnished piece for a few seconds and watch the discoloration vanish. The problem is what you can't see happening at a microscopic level. These liquid cleaners are incredibly harsh, often packed with thiourea and acids that aggressively strip away the top layer of your jewelry.
This process doesn’t just remove the unwanted tarnish; it also removes the beautiful, intentional oxidation that gives Southwestern designs their depth and dimension. Those dark, recessed areas in the stampwork that make the patterns pop are completely erased, leaving the piece looking sterile and one-dimensional.
These chemical dips are indiscriminate. They cannot tell the difference between the tarnish you want to remove and the artistic patina that is essential to the design of your piece.
This chemical stripping is also really rough on the metal itself. Research from the Getty Conservation Institute has shown just how destructive chemical dips can be, revealing that they remove far more silver than gentle polishing. Their studies on cleaning historic artifacts confirmed that a mild abrasive polish is always the superior approach. You can read more about these important findings on silver cleaning methods.
The Trouble with Toothpaste and Baking Soda Scrubs
Another common but damaging tip floating around is to use toothpaste or a thick baking soda paste as a scrub. While these might seem like harmless household items, they are far too abrasive for the relatively soft surface of sterling silver.
Toothpaste contains ingredients like silica, which are designed to scrub tooth enamel—a material much harder than silver. Using it on your jewelry is like taking fine-grit sandpaper to the surface, creating thousands of tiny scratches. Over time, these micro-scratches dull the metal's luster, making it look hazy and worn. A baking soda scrub poses the same risk, as its crystalline structure can easily mar the silver.
Instead of restoring that beautiful shine, these methods can permanently damage the finish of your favorite cuff or ring. The harm might not be obvious at first, but under the light, you'll notice the bright, mirror-like polish has been replaced by a dull, scratched surface.
Other Cleaning Methods to Steer Clear Of
Beyond those common culprits, a few other methods and products should be avoided to protect the integrity of your jewelry collection.
- Boiling with Aluminum Foil: The popular "foil and baking soda" method creates a chemical reaction to get rid of tarnish. While it works, it's non-selective and will strip away artistic oxidation just like a chemical dip.
- Lemon Juice and Vinegar: These acidic substances can be too harsh and may pit or damage the silver's surface, especially if they’re left on for too long.
- Abrasive Polishing Cloths: Not all cloths are created equal. Avoid using paper towels or tissues, which have rough fibers that can scratch silver. Always, always opt for a soft, lint-free microfiber or a dedicated jeweler's cloth.
By avoiding these common mistakes, you preserve not just the metal, but the artistry and story embedded in each and every piece you own.
How to Store Your Jewelry to Prevent Tarnish
https://www.youtube.com/embed/cch3uAyMyg8
Once your sterling silver pieces are sparkling clean, how you store them is your single best defense against future tarnish. Proper storage isn’t just about being tidy; it's the secret to drastically cutting down on cleaning time. The goal is simple: protect your jewelry from its two biggest enemies—air and moisture.
This is especially true for anyone with an estuarian cowgirl spirit living in a humid, coastal climate. Leaving your favorite turquoise cuff out on a dresser is like putting out a welcome mat for tarnish. That combination of open air and humidity creates the perfect storm for that dull, dark layer to form, sending you right back to square one.
Choose Your Storage Wisely
The right container makes all the difference, creating a protective barrier that shields your silver from the elements. Fortunately, you have several fantastic options that fit any collection or budget. Each one works by limiting airflow and keeping moisture out.
Here are a few of the best storage solutions I always recommend:
- Anti-Tarnish Pouches: These specially treated flannel bags are designed to absorb sulfur compounds right out of the air. Storing individual pieces in their own pouch is a brilliant way to keep them from tarnishing and getting scratched.
- Airtight Containers: You'd be surprised how effective a simple, sealed plastic container or even a resealable bag can be. The trick is to squeeze out as much air as possible before sealing it to create a mini-vacuum that slows down that chemical reaction.
- Lined Jewelry Boxes: Look for a jewelry box with a soft, treated lining. These are often made from materials that actively inhibit tarnish, giving your collection a safe and organized home.
The most effective storage is airtight and dry. The less contact your silver has with the open air, the longer it will keep its brilliant shine.
Simple Add-Ins for Extra Protection
To really boost your storage game, toss in a couple of simple items that absorb moisture and pollutants. Placing a silica gel packet (yes, the kind that comes in new shoe boxes) inside your jewelry box works wonders to keep the environment dry.
Another great trick is to keep a piece of activated charcoal or plain white chalk in with your silver. These porous materials are fantastic at absorbing airborne sulfur, the main culprit behind tarnish.
For a deeper dive into long-term preservation, our complete guide on how to care for sterling silver offers even more expert tips. By making these small storage adjustments, you'll be preserving your beautiful collection for years to come.
Your Silver Cleaning Questions, Answered
Even the best guides can leave you with a few questions. I get it. When you love your jewelry, you want to be sure you're doing the right thing. So, let's clear up some of the most common queries we hear about caring for sterling silver treasures.
Can I Just Toss My Sterling Silver in the Dishwasher?
That’s a hard no. While it might seem like a quick fix for your everyday forks and spoons, your jewelry is a different story.
The combination of high heat, harsh detergents (especially anything with citric acid), and the general rough-and-tumble environment inside a dishwasher is a recipe for disaster. It can cause scratches, strip away the beautiful, intentional patina on your Southwestern pieces, and absolutely ruin delicate stones like turquoise. Always stick to gentle, hands-on cleaning for the jewelry you love.
How Often Should I Be Cleaning My Silver?
Honestly, this really comes down to your lifestyle and even where you live. For the pieces you wear all the time, making a habit of giving them a quick wipe-down with a soft cloth after you take them off is the best preventative medicine.
For a more thorough cleaning, you might only need to do it every few months, or whenever you start to notice that familiar dullness of tarnish creeping in.
If you’re a true estuarian cowgirl living in a humid, coastal climate, you'll find yourself needing to clean your silver more often than someone in a dry, arid place. The trick is to just keep an eye on your pieces and give them some TLC as soon as they start losing their sparkle.
What's the Best Way to Clean a Silver Chain?
Chains can be a real pain with all those tiny links. The easiest and safest way I've found is a simple soak.
Just fill a small bowl with warm water and a few drops of mild dish soap. Let the chain sit for about 10 minutes, then use a super soft brush (a baby toothbrush works wonders) to gently get into the links. Rinse it really well with distilled water and make sure it's completely dry before you put it away.
I've Heard Toothpaste or Baking Soda Works. Is That True?
This is a huge myth, and one that can permanently damage your jewelry. Please don't do it!
Both toothpaste and baking soda are far too abrasive for sterling silver, which is a relatively soft metal. They'll create thousands of microscopic scratches that will kill the metal's beautiful shine for good. It's much better to skip these "hacks" and stick with methods that are proven to be safe.
Will Cleaning Get Rid of the Dark Details in My Southwestern Jewelry?
That all depends on the cleaning method you choose! If you dunk your piece into a harsh chemical dip, it will absolutely strip away that gorgeous, intentional oxidation that makes the intricate patterns pop.
But if you use the gentle DIY paste method we talked about, you have total control. It allows you to focus your polishing efforts only on the raised, shiny surfaces. By using something small like a cotton swab or a soft-bristled brush, you can brighten up the high points while leaving those dark, artistic details in the crevices perfectly intact.
Ready to find your next story piece? At Silver Elegant, we pour our hearts into creating handcrafted sterling silver jewelry that captures the authentic, free-spirited vibe of Southwestern style. Explore our collections today and discover a treasure that feels like it was made just for you.