
That beautiful, dark layer creeping over your favorite southwestern silver cuff? It’s not dirt—it’s just the result of a natural chemical reaction. Knowing how to clean tarnished silver jewelry really starts with understanding why it happens in the first place. Once you know the cause, you can choose a method that brings back the shine without accidentally damaging your prized estuarian cowgirl piece.
Why Your Silver Jewelry Really Tarnishes
Ever notice your sterling silver earrings looking a bit dull after a humid day, or your favorite turquoise ring darkening after being tucked away for a while? This change is a totally normal process called tarnishing. It’s not a sign that your jewelry is low-quality; in fact, it’s proof that you’ve got genuine silver.
The main culprit here is sulfur. Tarnish is simply a thin layer of silver sulfide that forms when the metal reacts with sulfur compounds floating in the air. This whole process gets a boost from things like humidity and heat, which explains why a piece of cowgirl jewelry might tarnish much faster after a sticky summer day. The experts at Westpack.com have some great insights into the environmental factors that affect silver.
What Makes Sterling Silver Unique
You might be wondering why some silver pieces seem to tarnish almost overnight while others hold their shine. Pure silver is actually incredibly soft, so jewelers mix it with other metals to create a stronger, more durable alloy known as sterling silver. By definition, sterling silver is 92.5% pure silver and 7.5% other metals, usually copper.
While this mix makes your jewelry tough enough for daily life, that added copper is what really makes it prone to tarnish. Copper reacts quickly with sulfur and other elements in the environment, speeding up the discoloration. This is a huge difference when you compare it to other metals. If you want to dive deeper, we break it all down in our guide on sterling silver vs stainless steel jewelry.
Everyday Triggers for Tarnish
It’s not just the air you have to think about. A lot of everyday things contain sulfur or other compounds that can kick the tarnishing process into high gear. Just being mindful of these can make a huge difference in how often you need to polish your pieces.
Some common accelerators include:
- Household Chemicals: Cleaners with bleach, chlorine, or ammonia are a big no-no for silver. They're incredibly harsh.
- Cosmetics and Skincare: Think lotions, perfumes, hairsprays, and even the natural oils from your own skin. They all contribute.
- Foods: Certain foods are high in sulfur, like eggs, onions, and mayonnaise.
The specific places you wear your jewelry matter, too. For instance, the humid, salty air in an estuarian setting can create the perfect storm for accelerated tarnishing on your favorite pieces.
Once you understand that tarnish is just a chemical reaction—not a flaw—you're in a much better position to handle it. This knowledge is key to picking the right cleaning method, one that gently lifts the tarnish while preserving the beautiful details and intentional patina that make your southwestern jewelry so special. The goal is to restore brilliance without erasing character.
Gentle DIY Methods for Everyday Silver
When it comes to your everyday silver pieces—those sturdy cuffs and classic hoops without delicate stones—a gentle touch is always the best place to start. You really don't need harsh chemicals to bring back their gleam. In fact, some of the most effective solutions are probably sitting in your kitchen right now.
These at-home techniques are fantastic for reviving your favorite southwestern silver without stripping away its beautiful, soulful character. They work with the metal's chemistry, not against it, so you can clean your pieces without worrying about causing damage.
It's actually a pretty simple chemical reaction that causes tarnish in the first place.
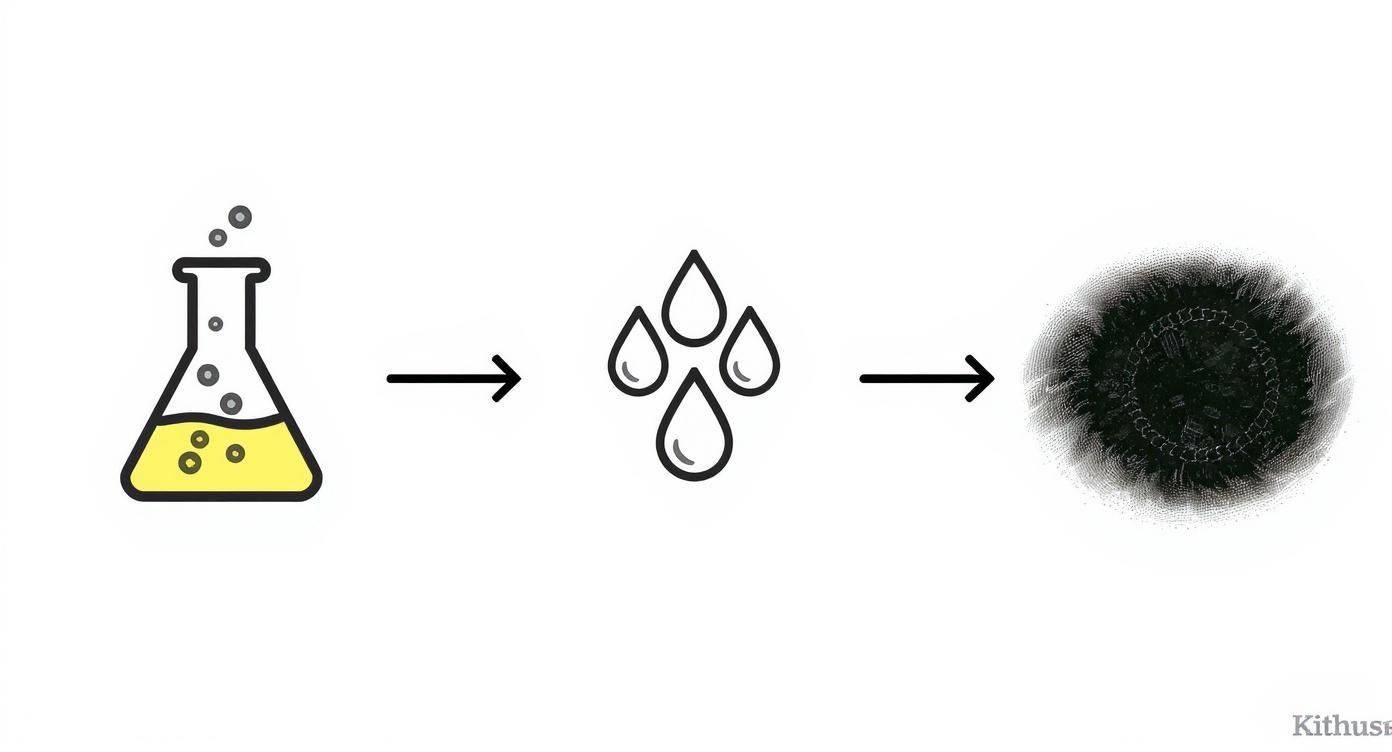
As you can see, that dark layer is just a result of sulfur and humidity interacting with your sterling silver. The methods we're about to explore are designed to safely reverse that specific reaction.
The Baking Soda and Aluminum Foil Bath
This classic trick is less about scrubbing and more about science. It kicks off a tiny electrochemical reaction that pulls the sulfur from your silver jewelry and transfers it to the aluminum foil. It’s an incredibly gentle way to reverse the tarnishing process without scratching your beloved pieces.
Here’s how to set it up for the best results:
- First, line a small, heat-safe bowl with a sheet of aluminum foil, making sure the shiny side is facing up.
- Bring a cup of water to a boil, then carefully pour it into the bowl.
- Stir in one tablespoon of baking soda and one teaspoon of salt. It’s going to bubble and fizz, which is totally normal.
- Gently place your silver jewelry into the solution. The key here is to make sure every piece is touching the aluminum foil.
- Let everything soak for about 2 to 5 minutes. You might notice a faint sulfur smell—that’s just the reaction working its magic. For heavier tarnish, you can leave it in for up to 10 minutes.
- Using tongs (the water is hot!), remove the jewelry.
- Rinse each piece thoroughly under warm running water and pat it completely dry with a soft, lint-free cloth. A microfiber cloth is perfect for this.
This process is a lifesaver for moderately tarnished pieces that just need a little boost. A word of caution, though: stick to using this method only for solid silver items. Avoid it for anything with gemstones, glues, or antiqued finishes that you want to keep.
Quick Cleanups with Mild Soap
For minor dullness or just everyday grime, you don't always need a full tarnish-reversing bath. Sometimes, a simple wash is all it takes to bring back some sparkle. This is the gentlest method of all and it's great for regular upkeep.
The trick is to use a mild, phosphate-free dish soap. Harsher chemicals, like those containing phosphates, can be too aggressive for sterling silver.
- Just add a few drops of soap to a bowl of warm water and give it a stir to get some suds.
- Let your jewelry soak for a few minutes to loosen any surface dirt.
- If you need to get into small crevices, use a very soft-bristled toothbrush (a baby toothbrush is ideal) to gently scrub the detailed areas.
- Rinse everything completely under clean water to get all the soap off.
- Dry your pieces immediately and thoroughly with a soft cloth to avoid any water spots.
Comparing Gentle At-Home Silver Cleaning Methods
Here’s a quick look at the best DIY cleaning methods for silver jewelry without any delicate stones.
| Method | Best For | Time Required | Potential Risks |
|---|---|---|---|
| Baking Soda & Foil Bath | Moderate to heavy tarnish on solid silver | 5-15 minutes | Can damage antiqued finishes; not safe for most gemstones or glued items. |
| Mild Soap & Water Wash | Light cleaning, removing daily grime and oils | 2-5 minutes | Very low risk; just be gentle to avoid scratches and dry thoroughly. |
Both of these methods are excellent starting points for bringing your solid silver jewelry back to life. Always begin with the mildest option first and see how your piece responds.
Remember, the whole point of cleaning is to remove unwanted tarnish, not the beautiful, intentional darkening that gives southwestern and estuarian cowgirl jewelry its unique soul. Always, always start with the mildest method first.
Keeping your jewelry shiny is an ongoing process, and building good habits can save you a ton of cleaning time down the road. For more advice on daily maintenance, check out our guide on essential jewelry care habits that keep pieces shining. Proper care is what ensures your treasured pieces stay beautiful for years to come.
Cleaning Silver with Turquoise and Porous Stones
The true soul of southwestern and estuarian cowgirl jewelry often lies in that stunning combination of sterling silver and vibrant, natural gemstones. Just picture a bold cuff with a brilliant piece of turquoise or a delicate ring showcasing a milky opal. These pieces tell a story, but cleaning them is a whole different ballgame than polishing solid silver.
Gems like turquoise, coral, lapis lazuli, and opal are porous. That means they have microscopic openings that can absorb liquids, oils, and chemicals. Using the wrong cleaning method isn't just a mistake; it can permanently discolor, dull, or even crack these beautiful stones.
The Cardinal Rule: Do Not Soak Your Jewelry
Let’s get the most important point out of the way first: never submerge jewelry with porous stones in any liquid solution. This includes the gentle baking soda bath we talked about earlier and especially harsh chemical dips. Soaking lets moisture and chemicals seep deep into the stone, which can lead to disastrous results.
A beautiful blue turquoise, for example, can turn a sickly green if it absorbs oils or acidic solutions. Opal, which naturally has a high water content, can dry out and crack if exposed to harsh chemicals. This is why a targeted, careful approach is the only safe way to handle these treasured pieces.
Mastering the Art of the Polishing Cloth
For jewelry featuring these delicate gems, your number one tool is a high-quality, two-sided silver polishing cloth. These are specially treated with a micro-abrasive polishing compound on one side and have a soft, non-treated side for buffing. They're a game-changer.
Here’s how to use one effectively on a piece with turquoise:
- Start with the treated side. Gently but firmly rub only the silver portions of your jewelry. I like to work in small, controlled motions, carefully maneuvering the cloth around the bezel setting of the stone.
- Be patient and precise. For intricate designs, you can fold the cloth into a small point to get into tighter spaces without touching the turquoise. The goal is to polish the silver without abrading the gemstone.
- Finish with the soft side. Once you've removed the tarnish, switch to the clean, untreated side. Buff the entire piece, including the stone, to remove any leftover polishing residue and bring out a brilliant shine.
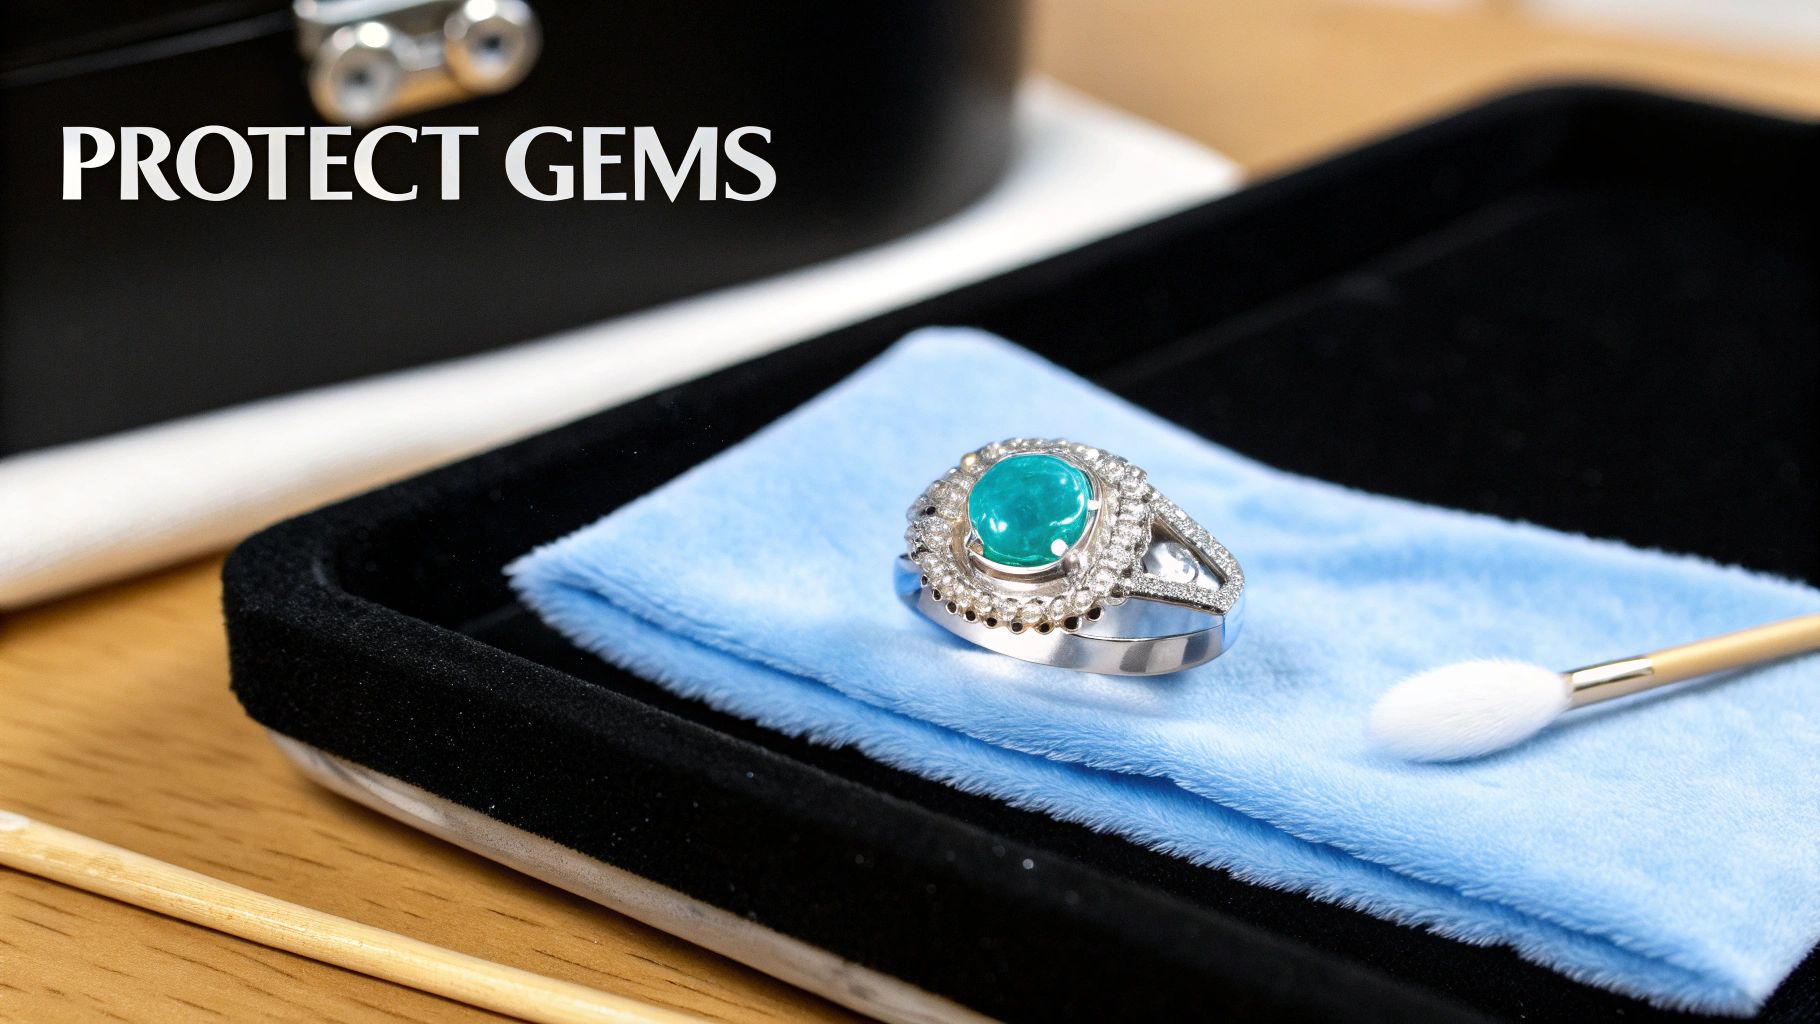
This method is by far the safest way to tackle tarnish when precious stones are involved. It gives you complete control and ensures nothing harmful ever touches your gems.
A professional polishing cloth is your best friend when caring for turquoise jewelry. It's designed to remove tarnish from silver without the need for any liquids or pastes that could harm the delicate stone.
Handling Dirt on the Gemstone Itself
What if the turquoise or coral itself has some dust or grime on it? The key here is to be extremely gentle and avoid moisture.
Grab a very soft, completely dry brush—an old, clean makeup brush or even a baby’s toothbrush works perfectly. Lightly whisk away any surface debris from the stone and the crevices around it.
If you absolutely must use moisture, dampen a soft, lint-free cloth with just a single drop of water, wringing it out until it’s barely damp. Gently wipe the surface of the stone and immediately dry it with a separate, clean cloth.
Understanding your stones is crucial. Different types of turquoise, for example, have varying levels of porosity. To learn more about identifying and caring for this iconic gemstone, you can explore our guide to know your turquoise origin, quality markers, and care.
What to Strictly Avoid with Porous Stones
To protect your southwestern treasures, there are a few cleaning tools and methods you should never, ever use. These aren't just suggestions; using them will almost certainly cause irreversible damage.
- Ultrasonic Cleaners: These machines use high-frequency sound waves in a liquid bath. While great for diamonds, these vibrations can shatter porous stones like opal or cause stabilized turquoise to loosen from its setting.
- Chemical Silver Dips: Commercial liquid cleaners are far too aggressive. They can strip the natural color from turquoise, dissolve the delicate structure of coral, and ruin the beautiful patina that gives your jewelry its character.
- Abrasive Pastes and Toothpaste: Any kind of abrasive paste, including toothpaste, will create micro-scratches on both the silver and the soft surface of the gemstone, permanently dulling its finish.
By treating these special pieces with the delicate care they deserve, you preserve not just their beauty but also the unique story and craftsmanship behind them. A gentle, dry polish is all it takes to keep them shining for generations.
Common Cleaning Mistakes That Can Ruin Silver Jewelry
When you first spot that familiar dullness on a treasured piece of southwestern jewelry, the immediate urge is to grab the strongest cleaner you can find and get its shine back. But in that rush, it’s all too easy to cause permanent damage.
Knowing what not to do is just as critical as learning the right way to clean your silver. Many popular "hacks" and store-bought products are way too aggressive for the unique character of our estuarian cowgirl jewelry. They can strip away the very details that make a piece special, leaving it looking flat and lifeless.
The Problem with Most Commercial Silver Cleaners
Wander down the cleaning aisle, and you’ll see a wall of potent silver polishes and chemical dips promising a mirror-like shine in seconds. While they might do the trick for a simple set of silverware, they’re often a total disaster for handcrafted southwestern jewelry.
Those powerful chemical dips are especially dangerous. They work by rapidly dissolving the silver sulfide (the tarnish), but the problem is, they can’t tell the difference between unwanted tarnish and the beautiful, dark patina that artists intentionally add to make intricate designs pop.
When you dunk a piece of southwestern jewelry into one of those solutions, you risk stripping away all of that gorgeous, intentional darkening. It can completely flatten the appearance, erasing the depth and character that made you fall in love with it in the first place.
The Abrasive Truth About Toothpaste and Stiff Brushes
One of the most stubborn DIY cleaning myths is using toothpaste. It seems harmless enough, right? But most toothpastes contain gritty ingredients like hydrated silica, which are designed to scrub plaque off hard tooth enamel. These particles are far too harsh for the much softer surface of sterling silver.
Using toothpaste or even a stiff-bristled brush will create thousands of tiny, microscopic scratches all over the metal. You might not see them at first, but over time, these micro-abrasions build up, dulling the finish and giving it a cloudy look.
Ironically, all that scratching just makes your jewelry tarnish faster in the future. As explained by the experts at BullionByPost.co.uk, abrasive compounds increase the metal’s surface area, giving air more to react with. So, frequent, aggressive polishing can actually speed up the tarnish cycle.
Over-Cleaning and Erasing the Story
The goal isn't to make a vintage-inspired piece look like it just came off the factory line. That subtle darkening in the recessed parts of a design is often a key part of its story and aesthetic appeal, especially with Native American and western styles.
Obsessively polishing every single nook and cranny will remove this desirable patina. This is particularly true for pieces with detailed stamp work. A little bit of character is a good thing—it shows the piece has been loved and worn.
To keep your jewelry safe, always follow these rules:
- Avoid all chemical dips. They're too indiscriminate and will strip the good with the bad.
- Never use toothpaste. The risk of scratching and dulling the finish is just too high.
- Stick to soft tools. Only use ultra-soft-bristled brushes (like a baby toothbrush) and microfiber cloths.
- Embrace the patina. Don’t try to scrub away the intentional darkening that gives your jewelry its soul.
By avoiding these common mistakes, you’ll do more than just clean your jewelry—you'll protect your investment and preserve the unique, rustic charm that defines the estuarian cowgirl aesthetic.
How to Properly Store Jewelry to Prevent Tarnish
The best way to deal with tarnish is, frankly, to not have to deal with it at all. Preventing that pesky discoloration before it even starts saves you a ton of time and, more importantly, protects the beautiful, intentional patina and delicate details of your favorite Southwestern pieces.
Proper storage is your secret weapon in this ongoing battle. By making just a few simple tweaks to how you put your jewelry away, you can dramatically slow down the chemical reaction that causes tarnish. That means less time scrubbing and more time showing off your signature style.
Choose the Right Environment
Your silver’s ideal home is somewhere cool, dark, and dry. The two main culprits behind tarnish are sulfur in the air and humidity, so your mission is to minimize exposure to both.
This immediately rules out one of the most common spots people keep their jewelry: the bathroom. Your bathroom is the absolute worst place to store silver. The constant steam from showers creates a humid, tarnish-loving playground that will speed up discoloration like you wouldn't believe.
Instead, think about a jewelry box on your bedroom dresser or a lined drawer. Anywhere but the bathroom!
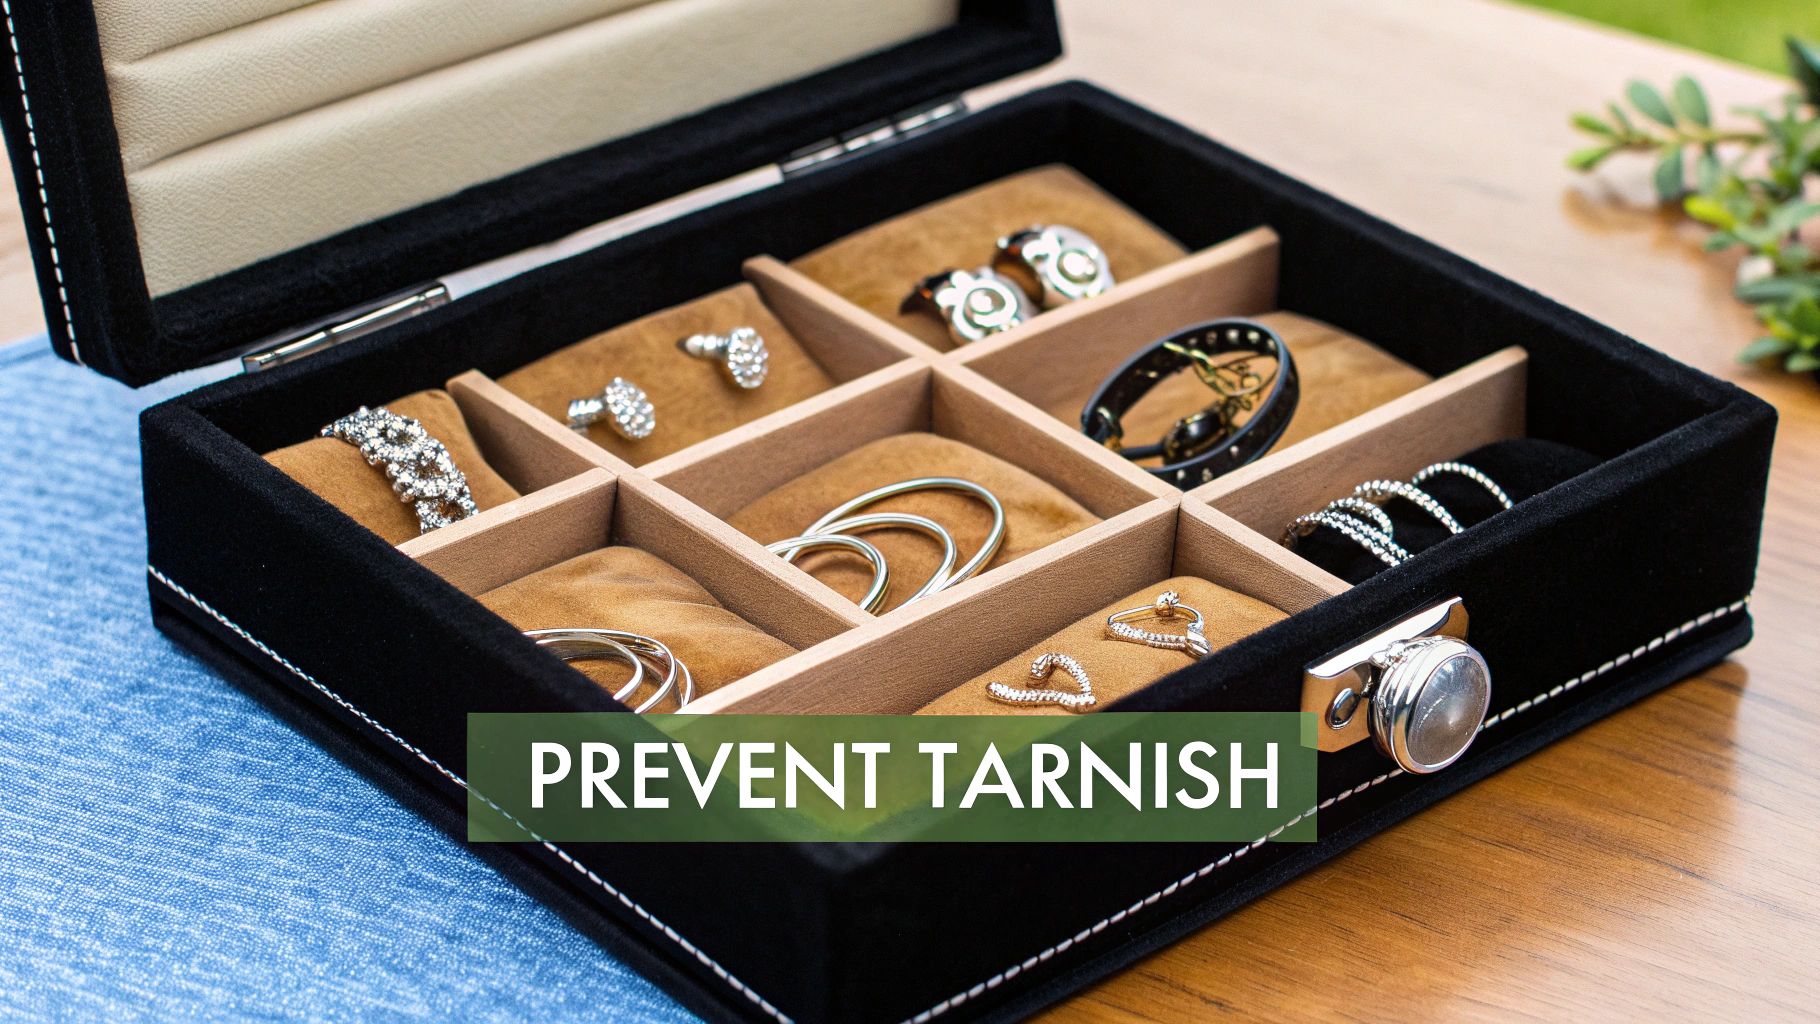
Isolate Each Piece to Prevent Damage
Good storage isn't just about fighting tarnish; it's also about preventing physical damage. Tossing all your pieces into one big dish is a recipe for disaster—tangled chains, scratched surfaces, and even chipped gemstones.
- Individual Compartments: A felt-lined jewelry box with separate slots is a fantastic investment. The soft lining helps pull away moisture and stops your pieces from knocking against each other.
- Soft Pouches: If a big jewelry box isn’t your style, individual soft cloth pouches work just as well. This is especially crucial for delicate earrings or pendants that could easily get banged up.
- Prevent Scratches: Sterling silver, while strong, is a relatively soft metal. Harder gemstones from another ring or even the edge of another silver cuff can easily leave micro-scratches that dull the finish over time.
A great rule of thumb is to store each piece the way you'd want to find it—untangled, unscratched, and ready to wear. Giving each item its own little home is a simple habit that makes a world of difference.
Use Anti-Tarnish Tools
For an extra layer of defense, you can add a few simple tools to your storage setup. These are designed specifically to absorb the nasty sulfur compounds and moisture that cause tarnish in the first place.
One of the most effective options is an anti-tarnish bag or cloth. These are treated with special compounds that neutralize airborne sulfur, creating a protective bubble around your jewelry. Storing a prized silver cuff in one of these can keep it bright for months, sometimes even years.
You can also tuck a few silica gel packets (those little white packets that come in new shoe boxes) or a piece of chalk into your jewelry box. Both are great at absorbing excess moisture, keeping the environment dry and much less friendly to tarnish.
Make Smart Daily Habits
Finally, a few small changes to your daily routine can have a huge impact. It all comes down to limiting your silver's exposure to harsh chemicals.
Make putting on your jewelry the very last step of getting ready. Apply your lotions, perfumes, and hairspray first, and give them a minute to completely dry before you put on your rings or necklace. This one tiny change prevents a direct coating of tarnish-accelerating chemicals.
Likewise, make taking off your jewelry the first thing you do when you get home. This keeps it away from sweat if you're working out or chemicals if you're cleaning. For a deeper dive into daily upkeep, our comprehensive guide on how to care for sterling silver has even more tips. By adopting these habits, you'll ensure your collection stays as beautiful as the day you got it.
Your Questions on Silver Jewelry Care Answered
Diving into the world of jewelry care can feel a little overwhelming, especially when you're trying to protect the unique character of your Southwestern and estuarian cowgirl pieces. From how often you should polish to what tools are safe, getting the right answers is key. Let’s tackle some of the most common questions we hear about keeping tarnished silver looking its best.
How Often Should I Clean My Sterling Silver Jewelry?
Honestly, there’s no magic number here. How often you need to clean your silver really comes down to three things: how frequently you wear it, your own body chemistry, and where you live. Someone wearing a silver cuff every day in humid Florida will see tarnish pop up way faster than someone who only brings out their favorite pieces for special occasions in dry Arizona.
The best approach is always prevention. Just give your jewelry a quick, gentle wipe with a soft, dry microfiber cloth after you take it off. This simple habit can dramatically cut down on the need for more intensive cleaning. For a deeper clean to tackle visible tarnish, you might only need to do it every few months or whenever you notice a change.
The most important thing to remember is that less is often more. Over-cleaning can be just as harmful as neglect, as it can wear away the metal and strip the beautiful, intentional patina that gives your jewelry its soul.
Are Ultrasonic Cleaners Safe for My Silver Jewelry?
We get this question a lot, and our answer is almost always a hard no. We strongly advise against using ultrasonic cleaners for the vast majority of Southwestern-style jewelry. While they might work for a simple diamond ring, they can be disastrous for the materials in our favorite estuarian cowgirl designs.
The intense, high-frequency vibrations these machines create can cause some serious, irreversible damage:
- They can easily loosen the settings of bezel-set stones, causing them to fall out.
- They’re notorious for causing tiny fractures in soft, porous stones like turquoise, opal, and coral, leading to cracks or discoloration.
- They can strip away the oxidized finishes that artists intentionally apply to create depth and make intricate stamp work pop.
For any piece that has an antiqued finish, features gemstones, or holds sentimental value, it’s much safer to stick with gentle, manual methods like a polishing cloth. The risk just isn't worth it.
Can I Remove All Tarnish from a Very Old Piece?
For most vintage jewelry, a gentle method like the baking soda and foil bath can remove a good amount of the silver sulfide and really brighten it up. But before you do, it’s worth asking yourself if you should remove all of it. Many older Southwestern pieces have a deep, dark patina built up in the recessed areas of the design—something that collectors and enthusiasts actually look for.
That patina tells a story; it’s part of the piece's history and character. Trying to scrub every nook and cranny to a mirror shine can not only ruin its unique aesthetic but can also significantly devalue it. If a gentle cleaning doesn't give you the result you want, or if the piece is a precious heirloom, your best bet is to consult a professional jeweler who specializes in antique restoration.
Why Does My Silver Jewelry Turn My Skin Green?
This is a super common question, and it's a completely harmless reaction that has nothing to do with your jewelry being "fake." In fact, it's often proof that you have genuine sterling silver! By definition, sterling silver is an alloy made of 92.5% pure silver and 7.5% other metals—usually copper.
That green or dark mark on your skin is just a harmless chemical reaction between the copper in the silver alloy and your skin's unique chemistry. Things like sweat, the acidity of your skin, or even lotions and perfumes can trigger it. To help prevent it, always keep your jewelry clean and dry. A good rule to live by is making your jewelry the last thing you put on and the first thing you take off.
For more detailed answers on jewelry care, materials, and policies, you can always explore our complete Frequently Asked Questions page.
At Silver Elegant, we believe that every piece of jewelry tells a story, and proper care is how you keep that story shining. Explore our full collection of handcrafted Southwestern and estuarian cowgirl jewelry, designed with hypoallergenic materials and timeless style, at https://silverelegant.com.