
Your favorite sterling silver cuff, with its intricate stamp work and a stunning turquoise centerpiece, isn't just an accessory. It's a piece of art that tells a story, echoing the wide-open spaces and estuarian landscapes that define a cowgirl's spirit. Southwestern jewelry carries a unique soul, blending polished silver with the raw beauty of gemstones. But over time, exposure to air, lotions, and even our skin's natural oils causes sterling silver to tarnish, leaving it looking dull or dark.
Knowing how to properly clean your sterling silver at home is the key to keeping its character alive without causing accidental damage.
Unlike mass-produced items, your artisanal pieces often feature porous gemstones and intentionally oxidized details that give them depth and dimension. This means harsh chemicals or aggressive scrubbing are completely off-limits. The goal isn't to make your jewelry look brand new, but to gently lift away unwanted tarnish while protecting that unique patina that gives it an authentic, well-loved, estuarian cowgirl feel.
Why Gentle Cleaning Matters
That natural darkening you see in the crevices of a stamped silver ring or around a turquoise setting? That’s often part of the original design. This patina is intentionally created by the artist to make the craftsmanship pop. Aggressive cleaning can strip this away, permanently changing the look of your piece.
Similarly, many Southwestern designs feature delicate gemstones that are incredibly sensitive to chemicals and moisture.
- Turquoise: This stone is famously porous and can absorb liquids, leading to permanent discoloration.
- Coral and Pearls: As organic gems, they can be easily scratched or dulled by acidic or abrasive cleaners.
- Opal: Known for its delicate nature, opals can crack if they’re exposed to sudden temperature changes or harsh chemicals.
For a deeper dive into the significance of these stones, you can explore the enduring legacy of turquoise jewelry and see why protecting them is so important.
To help you figure out where to start, this quick guide breaks down the best approach for your specific piece.
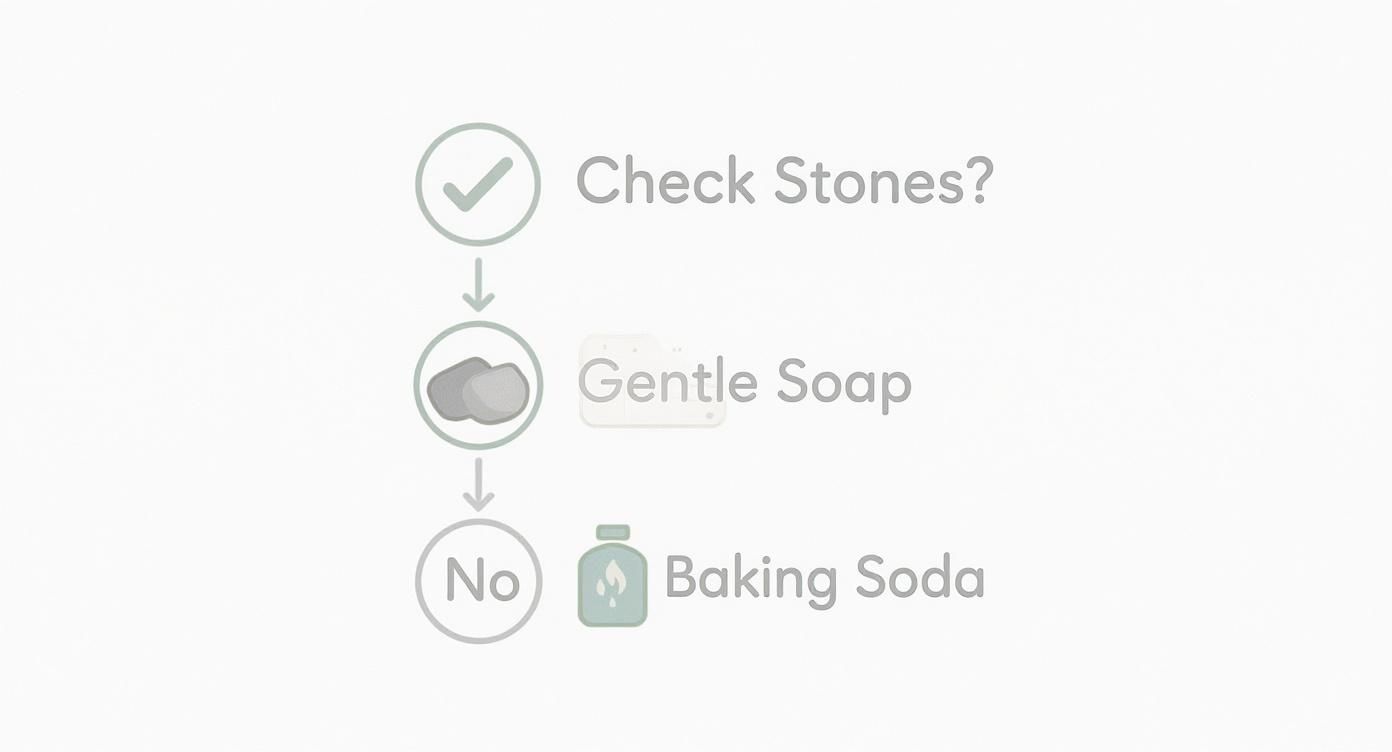
The main takeaway is simple: always check for gemstones first. Their presence immediately calls for a much gentler, more careful cleaning approach.
To make things even easier, here’s a quick reference table summarizing the safest at-home methods.
Quick Guide to Home Cleaning Methods for Sterling Silver
| Method | Best For | Key Ingredient(s) | Caution |
|---|---|---|---|
| Soap & Water Bath | All sterling silver, especially pieces with delicate stones like turquoise, opal, or pearls. The absolute safest first step for any estuarian cowgirl piece. | Mild, phosphate-free dish soap; warm water | Avoid soaking porous stones for more than a minute. Do not use on jewelry with glued-in elements. |
| Baking Soda Paste | Sturdy, all-silver pieces with moderate to heavy tarnish. Great for chains and cuffs without stones. | Baking soda; water | This is a mild abrasive. Never use it on soft stones, plated items, or intentionally oxidized pieces, as it can remove the patina. |
| Polishing Cloth | Light tarnish and routine maintenance on all types of silver. Perfect for a quick shine-up before heading out. | A professional silver polishing cloth (often two-sided) | Use the treated side for cleaning and the plain side for buffing. Be gentle around gemstone settings. |
This table should give you the confidence to choose the right method without hesitation.
Before you do anything, take a moment to really look at your jewelry. Are any stones loose? Do you see delicate inlays or areas of intentional darkening? This quick once-over will guide you to the safest method and prevent you from accidentally damaging a treasured piece of your cowgirl collection.
Gathering Your Essential Cleaning Supplies
Before you even think about cleaning your favorite sterling silver pieces, the first and most important move is to set up a proper "prep station." When you’re dealing with the intricate details and delicate gemstones common in Southwestern and estuarian cowgirl jewelry, having the right tools on hand is everything. It’s the difference between removing tarnish and accidentally causing harm.
Think of it like getting your ingredients ready before you start cooking. A little prep work ensures the whole process goes smoothly and, most importantly, safely. The best part? You don’t need anything fancy or expensive. The most effective supplies are usually simple household items, chosen for their gentle touch. Your goal here is to clean, not to strip away the beautiful character of your jewelry.
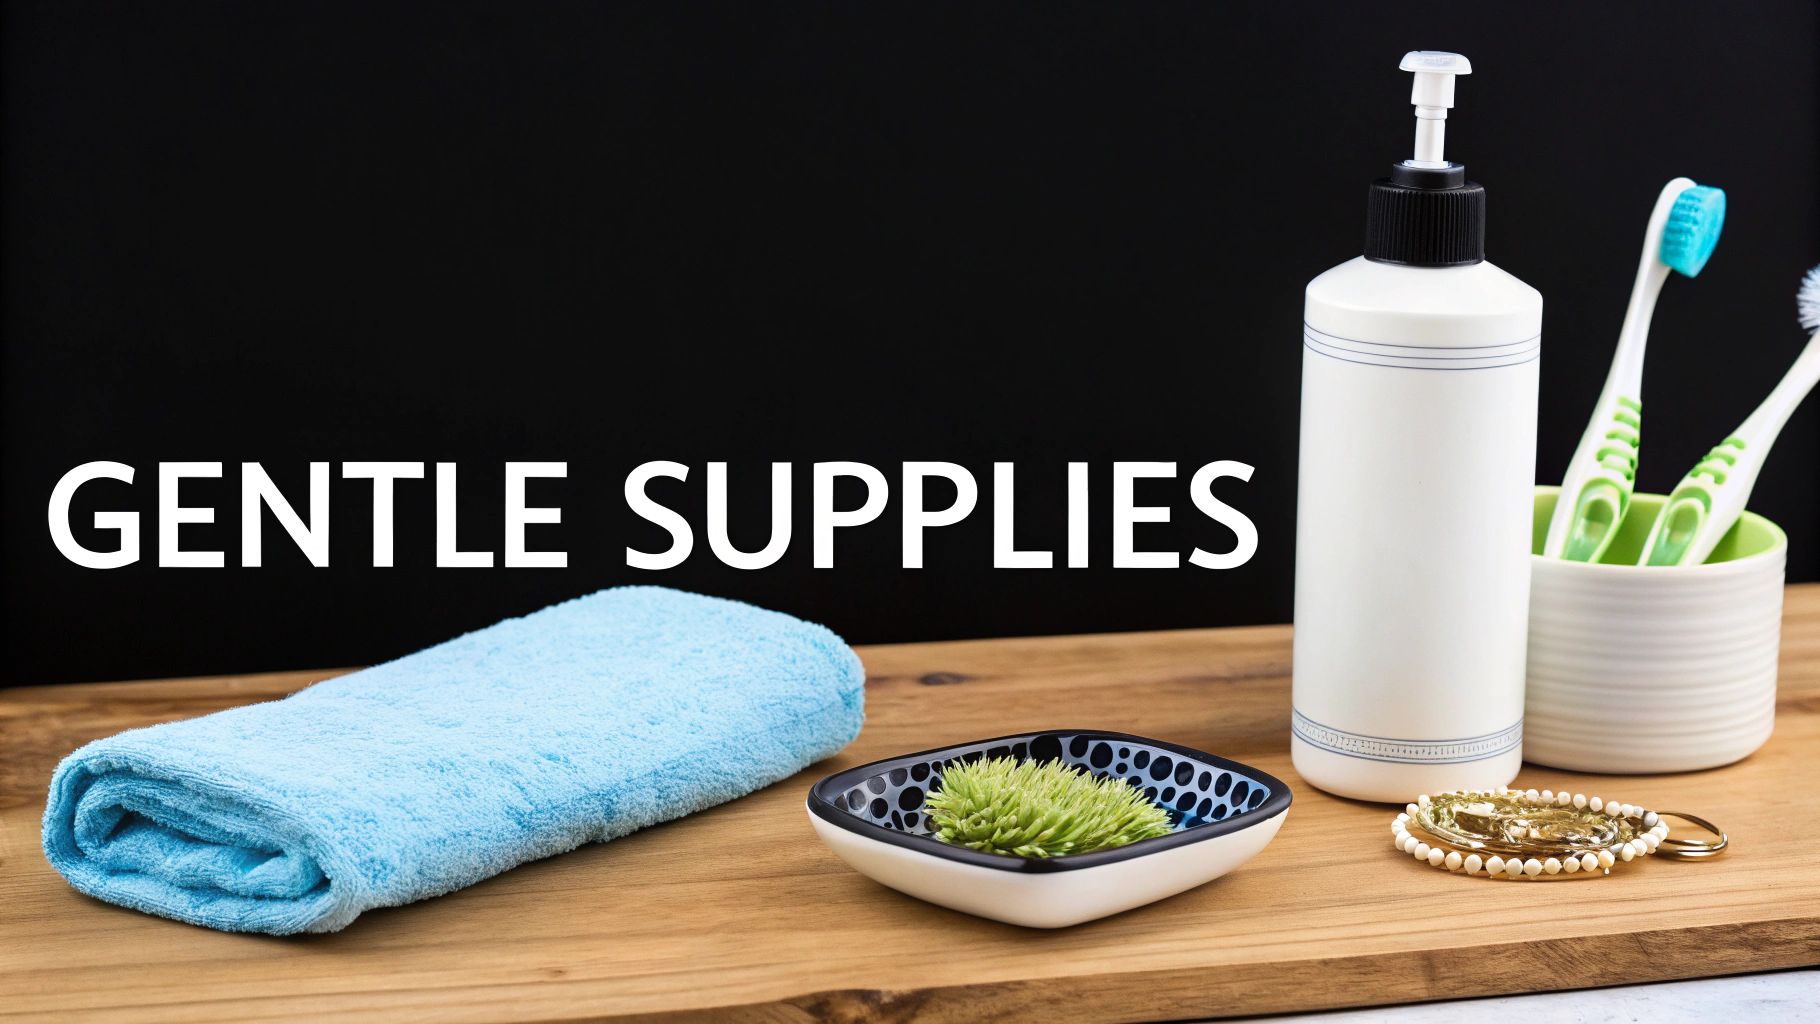
Your Go-To Cleaning Toolkit
To get started, pull together just a few key items. These materials are perfectly safe for sterling silver and, crucially, for porous stones like turquoise that make your pieces so unique.
- Soft, Lint-Free Cloths: A good microfiber or flannel cloth is your absolute best friend. These are non-abrasive and perfect for both the cleaning process and for drying your jewelry completely to prevent stubborn water spots.
- Mild, Phosphate-Free Dish Soap: Just a few drops of a gentle liquid dish soap will do the trick. Make sure you choose a brand that’s free of phosphates and harsh degreasers, which can be too aggressive for silver and can damage sensitive gemstones.
- A Very Soft-Bristled Brush: I’m talking about a baby toothbrush or even a super-soft artist's paintbrush. This is what you’ll use to gently work into the tiny crevices of stamped designs or around stone settings without leaving a single scratch.
- Warm Water: Not hot, not cold. Lukewarm water is the ideal temperature. Extreme heat or cold can actually cause some stones to crack or, worse, loosen their settings over time.
Remember, the secret to preserving your jewelry's integrity lies in gentleness. Every tool you choose should be soft and non-abrasive to protect the silver's surface and the natural beauty of its gemstones.
What You Must Absolutely Avoid
Knowing what not to use is just as important as knowing what to use. The wrong supplies can cause irreversible damage, from tiny scratches that dull the silver’s shine to permanent discoloration of that beautiful turquoise cuff you love. So, make sure you steer clear of these common but harmful items.
This "Do Not Use" list is non-negotiable if you want to protect your artisanal jewelry:
- Paper Towels or Tissues: They might feel soft to the touch, but paper towels are made of wood fibers that can create microscopic scratches on sterling silver. Over time, all those tiny abrasions build up and leave your jewelry with a permanently dull finish.
- Harsh Chemicals: This is the big one. Never, ever let your jewelry come into contact with bleach, chlorine, acetone, or ammonia. These chemicals are incredibly corrosive to silver and can completely ruin porous stones like turquoise, coral, and opal.
- Abrasive Cleaners: Things like toothpaste (even the plain paste kind), baking soda slurries (unless used very carefully on all-silver pieces), and scouring powders are far too aggressive. They’ll scratch the silver and can even strip away the intentional patina that gives Southwestern pieces their depth and soul.
- Old or Hard-Bristled Toothbrushes: A standard adult toothbrush is way too stiff for soft sterling silver. The bristles will act like a tiny wire brush, leaving behind a web of fine scratches.
By carefully choosing your supplies and avoiding these damaging materials, you’re setting yourself up for a successful and safe cleaning. This simple preparation is the first real step in learning how to care for your cherished pieces like a pro, ensuring they stay beautiful for years to come.
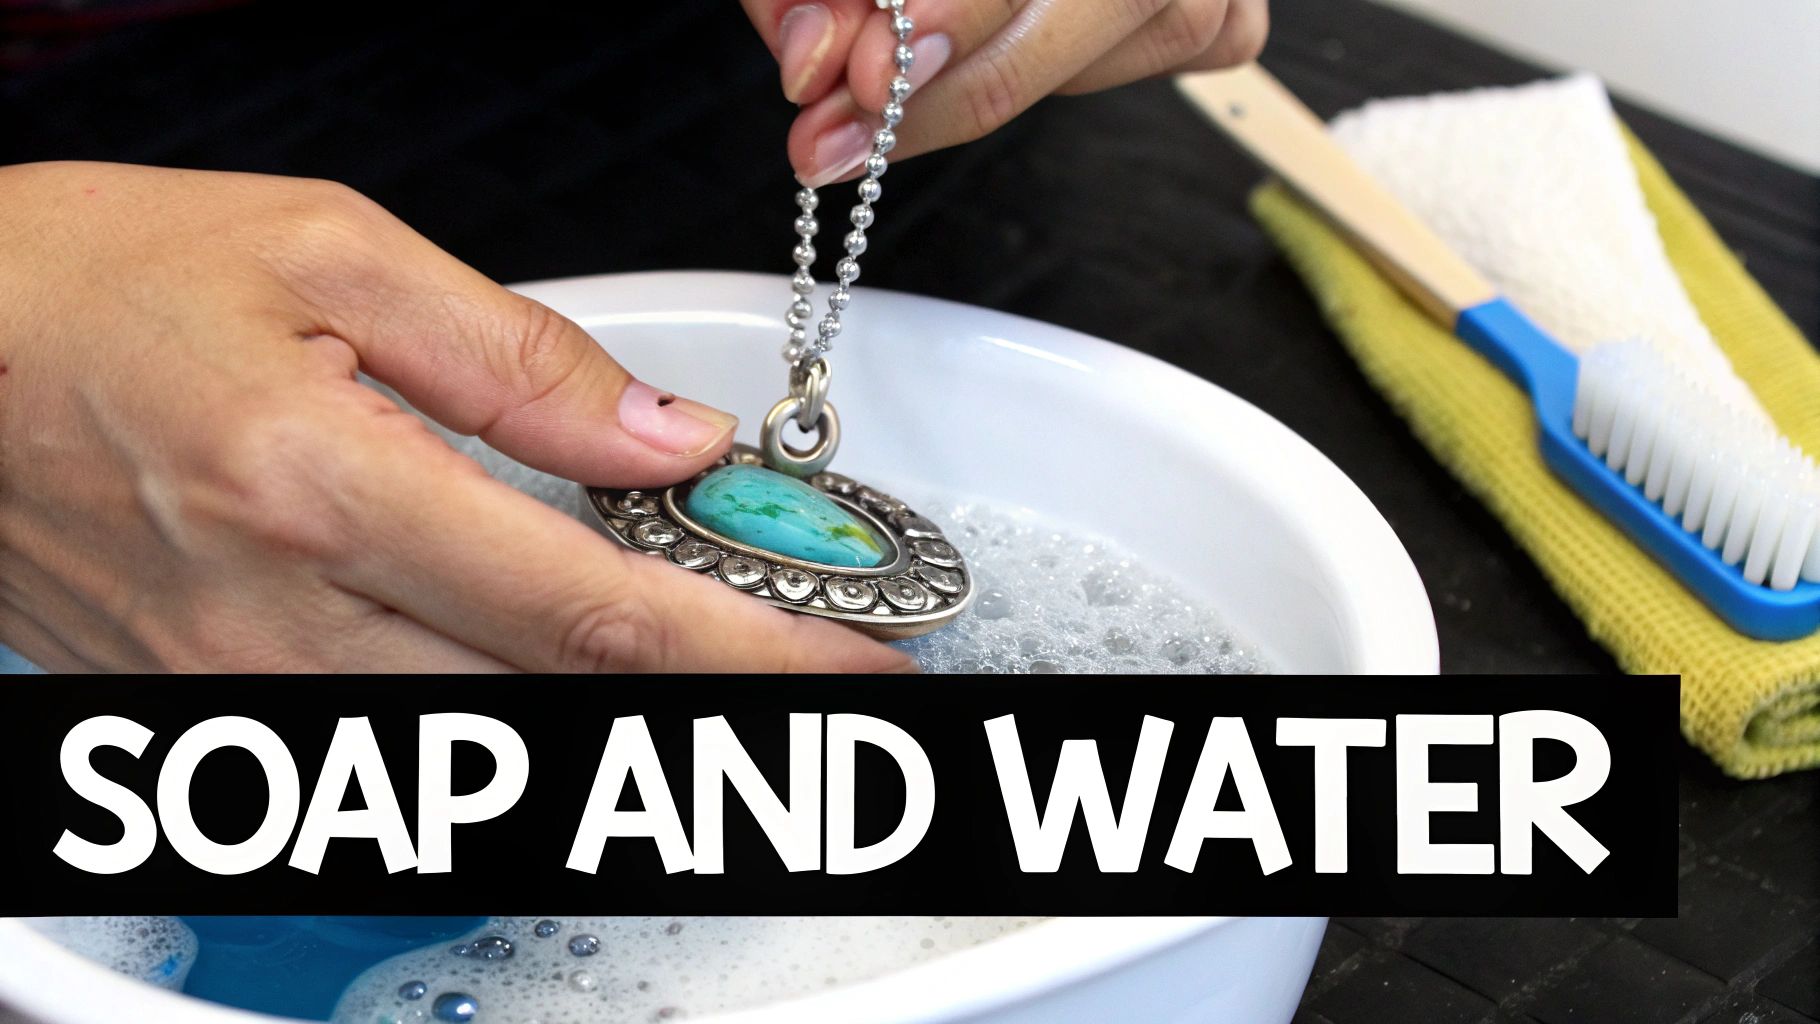
The Gentle Soap and Water Method for Routine Upkeep
When you're figuring out how to clean sterling silver jewelry at home, sometimes the simplest way is the best way. For routine care, nothing beats a gentle soap and water bath. This is my first line of defense, especially for those beautiful, intricate pieces with stones that define that Southwestern, estuarian cowgirl spirit.
Think of it as the perfect method for jewelry you wear all the time. It’s designed to gently lift away the daily buildup of lotions, natural skin oils, and dust without putting delicate stones or finishes at risk. It won't tackle heavy, set-in tarnish, but it's brilliant for keeping your pieces looking bright and ready to go.
This method is so mild, in fact, that it’s the only at-home bath I ever recommend for jewelry featuring porous stones like turquoise, opal, or coral.
Preparing the Perfect Cleaning Bath
Getting the solution right is easy. Grab a small bowl, just big enough to let your jewelry sit comfortably, and fill it with warm water. Not hot, just warm. Then, add just a couple of drops of a mild, phosphate-free liquid dish soap.
Steer clear of anything with harsh detergents, degreasers, or heavy moisturizers. These can leave behind a dulling film or be far too aggressive for sensitive gemstones. Just give the water a gentle swirl with your finger to create a light, sudsy bath. That's all you need—a mixture that's strong enough to cut through daily grime but gentle enough to protect your most loved pieces.
Once your bath is ready, it's time for a quick soak. For solid silver items, like a simple chain or a plain cuff bracelet, you can let them rest in the solution for about five to ten minutes.
But—and this is important—if your piece has turquoise or another porous gem, the soak is much, much shorter. A quick dip for just 30-60 seconds is all it needs. This is just enough time to loosen surface dirt without giving the stone a chance to soak up moisture, which can cause discoloration down the line.
Gently Cleaning Crevices and Details
After its brief soak, it’s time to get into the details with an ultra-soft brush. An old, soft-bristled toothbrush or even a mushroom brush works wonders here. Dip it into the soapy water and gently work over the silver, giving a little extra attention to any nooks and crannies.
For a Southwestern cuff with deep stamp work or a ring with an ornate setting, those soft bristles are perfect for getting into crevices and lifting away trapped dirt that a cloth just can't reach. Use a light, circular motion and let the bristles do the work. The goal is to dislodge buildup, not to scrub the life out of the metal.
- For Intricate Designs: Be extra gentle around delicate filigree or detailed engravings. A feather-light touch is all it takes to bring back the shine without leaving a single scratch.
- Around Gemstone Settings: Use the very tip of your brush to clean the metal bezel or prongs holding the stone. Try to avoid scrubbing the face of the stone itself; the soapy water bath was enough for it.
This focused, gentle cleaning is what makes this method so perfect for artisanal jewelry. It respects the artist's original work—including any intentional oxidation—while making the silver gleam.
Rinsing and The Critical Drying Stage
Once you're done cleaning, a thorough rinse under a slow stream of cool, clean water is absolutely essential. You want to make sure every last bit of soap residue is washed away, otherwise it can dry into a dull film.
Now for what I consider the most critical part of the whole process: drying. If you don't dry your jewelry completely, you're asking for water spots and inviting tarnish to return even faster.
Grab a soft, lint-free microfiber cloth and meticulously pat every surface dry. Don't rub! A vigorous rub can catch on delicate settings or scratch softer stones. Instead, gently blot and press the cloth against the jewelry. For something complex like a concho necklace, I like to wrap the cloth around a section and give it a gentle squeeze.
After you've gotten it as dry as you can with the cloth, lay the piece on a clean, dry towel and let it air dry completely for at least a few hours before you even think about storing it. This final step guarantees that no hidden moisture is left, keeping your silver bright and ready for its next adventure.
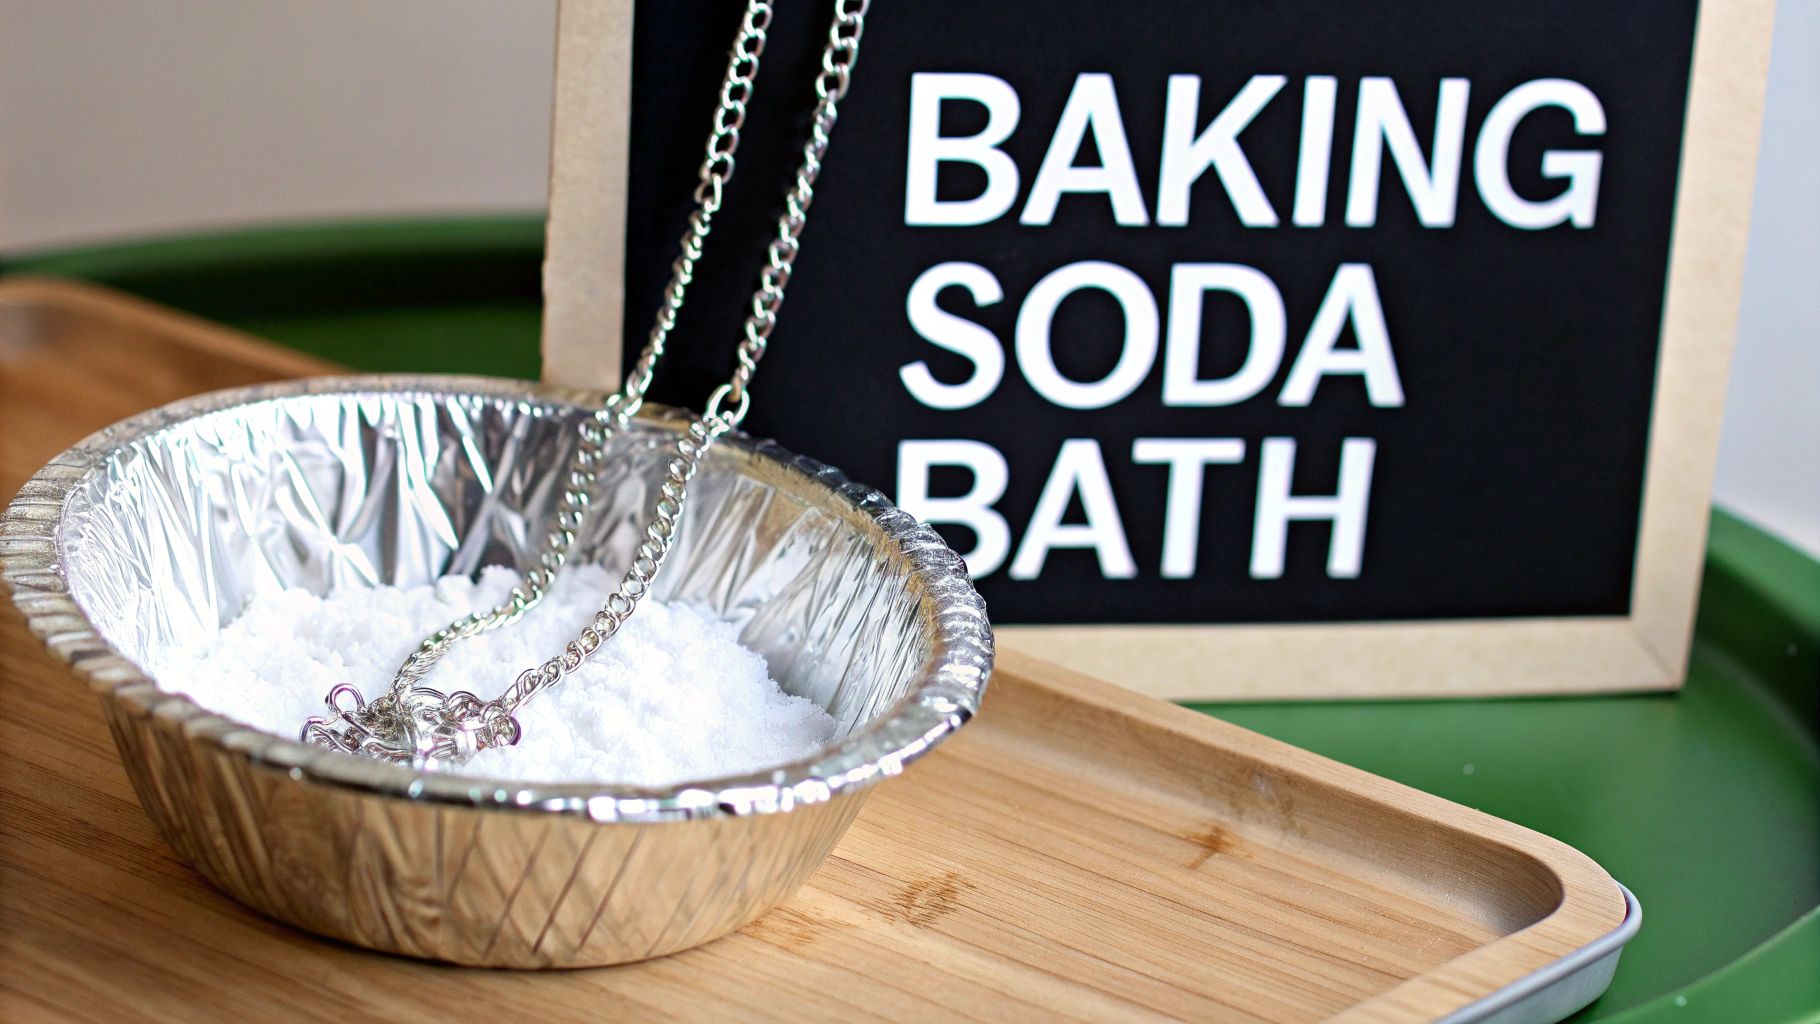
Reviving Tarnished Silver with Baking Soda
Sometimes, a simple soap and water wash just isn't enough to tackle serious tarnish. When your silver needs a major revival, the baking soda and aluminum foil method is an incredibly effective trick. This isn't just a kitchen hack; it's a bit of home chemistry that lifts away stubborn discoloration without any harsh scrubbing.
So, how does it work? It’s all about a simple electrochemical reaction. When you combine sterling silver, baking soda, salt, aluminum foil, and hot water, you create a tiny electrical current. This process, known as ion exchange, basically convinces the sulfur—the very thing causing the tarnish—to break up with your silver and bond with the aluminum foil instead. It's fascinating to watch the tarnish literally disappear from your jewelry and reappear on the foil.
This method has been a trusted go-to for silver care since the 1950s. In fact, a 2018 survey found that over 65% of households in North America and Western Europe still rely on it. Studies have shown it can remove up to 90% of visible tarnish in just ten minutes, which is pretty impressive. However, experts do caution that frequent use can cause microscopic pitting, which might reduce the lifespan of delicate pieces by up to 15% over a decade. If you're curious about the professional take, you can learn more about the care of silver here.
Setting Up Your Cleaning Station
To get this little chemistry experiment going, you'll need a few things you probably already have. Getting the setup right is key to doing this safely and effectively.
- A heat-proof bowl (glass or ceramic is perfect).
- Aluminum foil to line the bottom of the bowl.
- 1 tablespoon of baking soda.
- 1 tablespoon of sea salt (this is optional, but it really kicks the reaction into high gear).
- 1 cup of very hot water (think tea temperature, not a rolling boil).
- A pair of tongs so you don't burn your fingers.
First, line your bowl with the aluminum foil, making sure the shiny side is up. Lay your tarnished silver pieces right on top of the foil. You want them to make as much contact with the foil as possible for the best results.
Sprinkle the baking soda and salt over the jewelry, then carefully pour in the hot water until the pieces are completely submerged. You’ll probably see a bit of fizzing and catch a faint whiff of sulfur—that’s just the science happening!
When to Absolutely Avoid This Method
While this technique is a lifesaver for some pieces, it's definitely not a one-size-fits-all solution. This is especially true for the kind of artisanal Southwestern jewelry we love. Knowing when not to use this method is just as critical as knowing how to do it.
CRITICAL WARNING: Never use this cleaning bath on jewelry that contains gemstones. Porous stones like turquoise, coral, or opal are particularly vulnerable. The hot water and chemical reaction can cause permanent damage, discoloration, or even make them crack.
You also need to steer clear of this method for any pieces with intentional oxidation. Many Southwestern designs use a dark patina in the recessed areas to make the beautiful stamp work pop. This cleaning method will strip that patina right off, completely changing the artist's original vision and wiping away the piece's unique character.
So, what is it good for?
- Solid sterling silver chains.
- Plain cuff bracelets without any stones.
- Simple silver rings with no settings.
- Any sturdy, all-silver item that's covered in heavy, uniform tarnish.
Finishing the Process
Let your jewelry soak in the bath for about 5-10 minutes, keeping an eye on it. The time will depend on how tarnished it is. You'll literally see the silver getting brighter as the reaction works.
Once your pieces look clean and bright, use your tongs to carefully pull them out of the hot water. Give them a good rinse under cool, running water to get rid of any leftover baking soda residue.
Finally—and this part is non-negotiable—you need to dry them completely. Pat them dry with a soft, lint-free cloth, and then let them air dry for a few hours just to be sure every last bit of moisture is gone. This careful finishing touch is what will keep your newly brilliant silver looking its best.
Think Twice Before Using a Commercial Silver Dip
When you see tarnish, it’s so tempting to reach for one of those commercial silver dips promising a quick-fix shine. They seem like magic in a jar. And while they might be fine for a simple, sturdy piece of silverware, they can be a total nightmare for the kind of artisanal, handcrafted estuarian cowgirl jewelry we love.
The truth is, these dips are incredibly aggressive. They use harsh acids to literally dissolve tarnish on contact. The problem? That acid can't tell the difference between the ugly tarnish you want to remove and the beautiful, deliberate patina that gives your stamped silver cuff its depth and character. One quick dunk can strip away years of history—or an artist's careful work—leaving a cherished piece looking sterile, flat, and lifeless.
The Hidden Dangers to Stones and Finishes
It gets worse, especially when stones are involved. For any of our pieces with porous gems like turquoise, these chemical baths are an absolute no-go. The acid can seep right into the stone, causing permanent discoloration. I’ve seen vibrant blue turquoise turn a sad, sickly green after a chemical dip. It’s heartbreaking, and it’s irreversible. It can also weaken the stone's structure or loosen it right out of its setting.
The silver itself isn't safe, either. Over time, these chemicals can do more harm than good. The Canadian Conservation Institute actually found that improper use of these dips can lead to microscopic pitting in up to 30% of sterling silver items. That same research noted that 45% of users reported a weird yellow discoloration after dipping, which happens when the chemicals react unevenly with the metal. You can dig into the science and see more on why experts warn against silver dips if you're curious.
The very things that make your Southwestern jewelry special—its intricate details, natural stones, and unique finish—are the same things that make it vulnerable to harsh chemical cleaners. A moment of convenience isn't worth a lifetime of regret.
A Better Way: The Final Polish
So, what's the right move when you've done a gentle soap-and-water clean but want that extra pop of shine? Get yourself a professional-grade polishing cloth. This isn't your average dust rag; these cloths are specifically designed for precious metals.
A good one usually has two parts:
- An inner cloth that’s treated with a very fine polishing compound. It gently lifts away any lingering tarnish without scratching the silver.
- An outer, softer cloth for the final buff. This is what brings out that brilliant, mirror-like shine.
Using a cloth puts you in complete control. You can gently buff the high points of a design while carefully avoiding the oxidized crevices that give it character. You can work around a delicate turquoise cabochon without ever touching it. It’s the safest, most effective way to brighten up your pieces without taking any risks. This simple tool is the real secret to keeping your collection looking its absolute best.
Keeping Tarnish at Bay with Smart Jewelry Storage
While knowing how to clean your sterling silver is a great skill to have, an even better strategy is preventing tarnish before it even starts. It saves you so much time and helps protect the delicate finishes of your favorite Southwestern pieces.
At its core, tarnish is just a simple chemical reaction. And the good news? You have the power to slow it way, way down.
This reaction happens when sterling silver meets its two main enemies: humidity and airborne sulfur compounds. These things are everywhere—from the steam in your bathroom to everyday household products. The trick is to create a barrier between your jewelry and the open air.
Creating an Anti-Tarnish Haven
The easiest and most effective way to protect your collection is with smart storage. Think of your jewelry box as a safe haven. Instead of leaving your pieces out on a dresser where they're exposed to the elements, it's best to store each item individually.
- Airtight Bags or Pouches: You don't need anything fancy. Small, zip-top plastic bags are an incredibly effective and budget-friendly option. Just squeeze out as much air as you can before sealing it up. Soft flannel pouches are also a great choice.
- Anti-Tarnish Strips: For an extra layer of defense, I love tucking a small anti-tarnish strip into each bag or jewelry box compartment. These little paper tabs are brilliant—they absorb the sulfur pollutants right out of the air, neutralizing them before they can dull your silver. They’re inexpensive and last for months.
Storing your jewelry this way doesn't just prevent tarnish; it's also the best way to avoid scratches. When chains, pendants, and cuffs are all tossed in a drawer together, they can easily get tangled and scuffed. A little separation makes a world of difference.
Honestly, proper storage is the single most effective habit you can adopt. By controlling the environment, you can cut down your cleaning time from a monthly chore to maybe just once or twice a year. That preserves the integrity and finish of your silver for the long haul.
Smart Habits for Everyday Wear
How you wear your jewelry is just as important as how you store it. A few simple adjustments to your daily routine can make a huge impact on keeping your silver bright and beautiful.
The golden rule I always share is "last on, first off."
This means your jewelry should be the absolute last thing you put on, after you’ve applied all your lotions, makeup, hairspray, and perfume. The chemicals in these products can speed up tarnishing and even damage porous stones.
At the end of the day, the rule reverses: your jewelry should be the very first thing you take off before changing or washing your face.
It’s also crucial to remove your jewelry before doing anything that involves moisture or chemicals. For example, a stunning piece like a Handmade Navajo Spice Mojave Sterling Silver Cuff Bracelet should never join you for a swim, a shower, or a house-cleaning session.
Here’s a final tip for necklaces: store them unclasped and lying flat. This simple step prevents kinking and puts less stress on the clasp, saving you from frustrating tangles or a broken chain. By weaving these small habits into your routine, you’ll ensure your Southwestern treasures remain as stunning as the day you got them.
Common Questions About Silver Jewelry Care
Even after you've mastered the basics, a few questions always pop up when it comes to cleaning sterling silver jewelry at home. Getting clear, expert answers can make all the difference, giving you the confidence to care for your cherished Southwestern and estuarian cowgirl pieces without any of the usual guesswork.
Let's dive into some of the most common queries I hear, with practical advice to help you troubleshoot your cleaning routine.
Can I Use Toothpaste to Clean My Silver Jewelry?
Please don't. This is one of the most persistent myths out there, and it’s incredibly damaging advice. Most toothpaste formulas are packed with mild abrasives like silica, which are great for scrubbing stains from tough tooth enamel.
But on a soft metal like sterling silver, those same abrasives act like fine-grit sandpaper. They’ll create a network of tiny scratches that permanently dull the finish of your jewelry. This is especially destructive for pieces with a high-polish shine or delicate stamp work, completely ruining their intended look.
How Often Should I Clean My Sterling Silver?
Honestly, it really depends on how often you wear a piece and how you store it. There's no single rule that applies to every piece in your collection.
- For daily wear: Getting into the habit of giving your jewelry a quick wipe with a professional polishing cloth after taking it off is a game-changer. This simple step removes skin oils and moisture before they have a chance to react with the silver.
- For occasional wear: A gentle soap and water cleaning every few weeks, or whenever you notice a bit of buildup, is usually more than enough.
- For properly stored jewelry: If you keep your pieces tucked away in airtight bags with anti-tarnish strips, you might only need to give them a proper cleaning once or twice a year.
The natural oils in your skin can actually help keep silver from tarnishing, so wearing your jewelry often is one of the best ways to keep it looking bright. It’s the pieces left out in the open air that tarnish the fastest.
What if My Turquoise Gets Wet During Cleaning?
If a piece with turquoise accidentally gets a little too wet, the key is to act quickly. Don't panic—just grab a soft, lint-free cloth and immediately pat the stone and its setting completely dry.
Turquoise is a porous gemstone, which means it can absorb liquids. That can lead to discoloration or even damage over time. After you’ve blotted away the surface moisture, let the jewelry air dry for several hours to ensure no dampness remains trapped against the silver.
Are Ultrasonic Cleaners Safe for Southwestern Jewelry?
I strongly recommend against using ultrasonic cleaners for most Southwestern and estuarian cowgirl jewelry. While they can work wonders for simple rings with hard gemstones, they can be absolutely disastrous for artisanal pieces.
The intense, high-frequency vibrations are far too harsh for porous stones like turquoise, coral, and opal. These vibrations can easily cause them to crack or loosen from their settings. What's more, they can strip away the beautiful oxidized details that are so essential to the character and soul of these designs. For more specific questions about caring for your pieces, our extensive FAQ page offers even more insights.
Ready to find your next treasured piece? At Silver Elegant, we celebrate the spirit of the Southwest with handcrafted sterling silver jewelry designed to tell a story. Explore our collections and discover the perfect addition to your style.
Shop the latest Southwestern jewelry collections at Silver Elegant